DaFont TUTORIAL

Go to dafont.com armed with an idea of the "style" of font you want to sample.
I have chosen Zombies as my theme for my Video Game so I will be looking for a Typeface to "illustrate" that on the Title of my Game Box Cover.
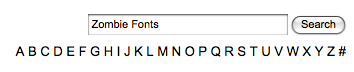
In the Upper Right Corner of the dafont website you'll find a Search Window where you can type in the Style of Font you are looking for. Then click "Search"
You should then see something like this. DaFont shows there are 7 Fonts for Zombie Fonts.
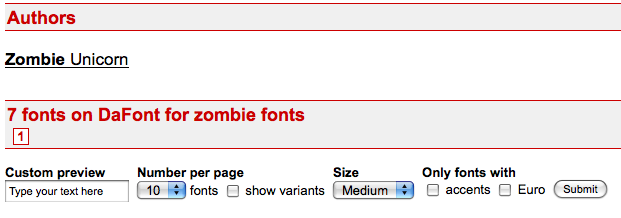
There are other choices to make here but for our Tutorial just check these few options:
You can then type in one of the Title names in the "Custom Preview" window,
Choose Small, Medium or Large for the Display Size
And then Click "Submit".
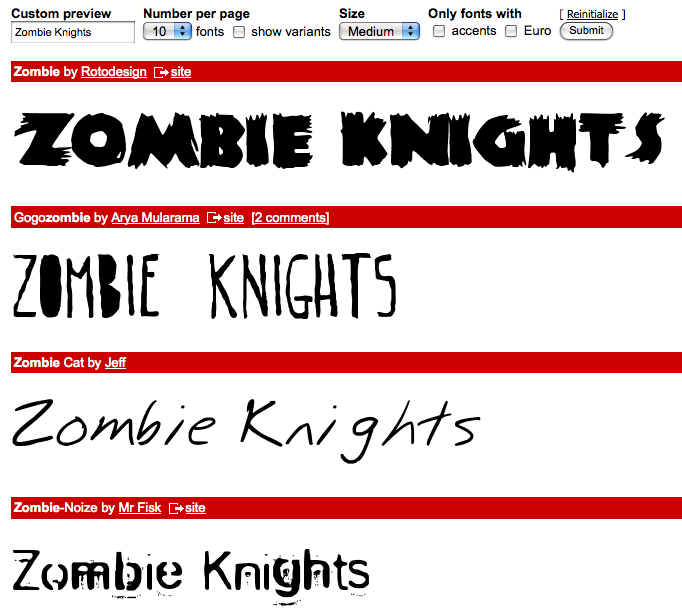
This picture shows the first 4 Fonts under their names . . .

. . . And this shows the bottom 4 Fonts under their Font Names
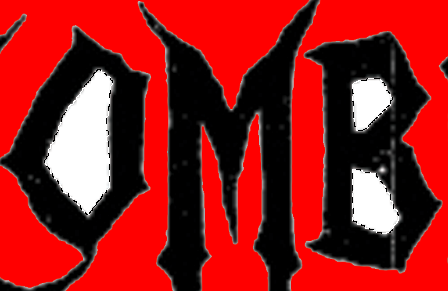
I'm going to choose the Bottom One for one of my Titles
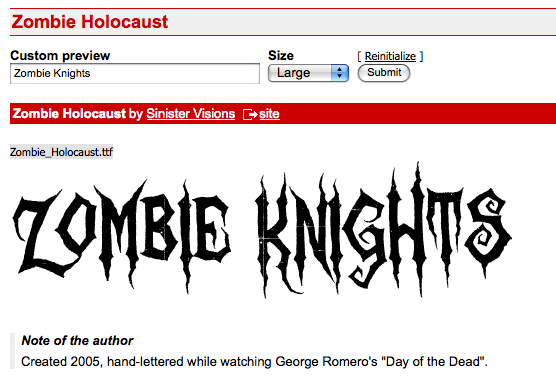
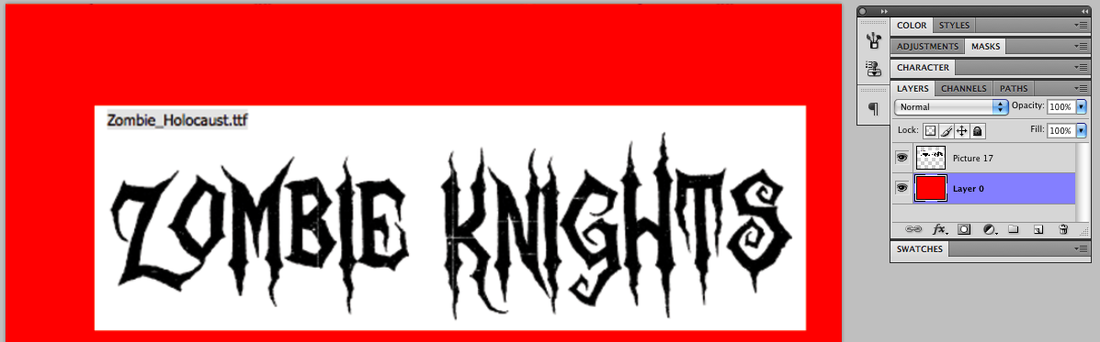
Okay, so the name of this Font is Zombie Holocaust. I clicked on that and it showed up at the top with some fun, descriptive details about its conception. Read the "Note" at the bottom. I want to make the type as large as possible so I selected "Large" in the size option window. And then clicked "Submit" again.
Make sure the whole Title shows up here and doesn't get cut off over on the right side.
We will deal with this issue a few steps down from here.

Now this part is cool.
Look on the upper right side of your Keyboard.
You should see a Key called "PrntScrn" which stands for PRINT SCREEN
- Give that a solid Click.
Go to Photoshop and Choose File > New and just Click "Okay".
Your Screen Shot should fit perfectly . . .

Okay, now using the Rectangle Marquee Tool,
draw a rectangle around all the type you want to keep.
Go up to "Image"
Go down to "Crop"
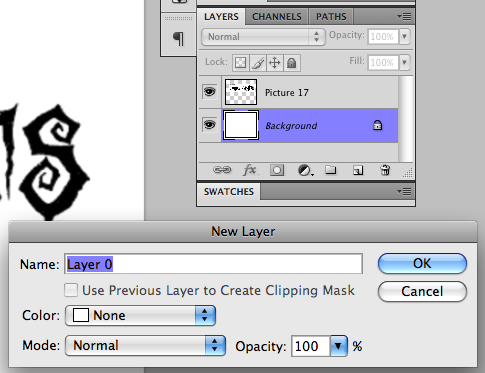
Look at the Layer Pallet - you'll see there is the base layer labelled
"Background" with a little lock on the right side - Double Click that Layer.
You'll see a New Layer Pop Up Menu appear.
Just Click "OK"

Choose that Layer - Layer 0 - Note it has a White Rectangle
We are going to change that color in this step.
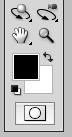
Click on the Foreground Color (Black) Box in the Tools Pallet

This Color Picker (Foreground Color) Pallet will Pop Up.
I'm going to use that Orangey Red in the Bottom Left Corner for my Color choice
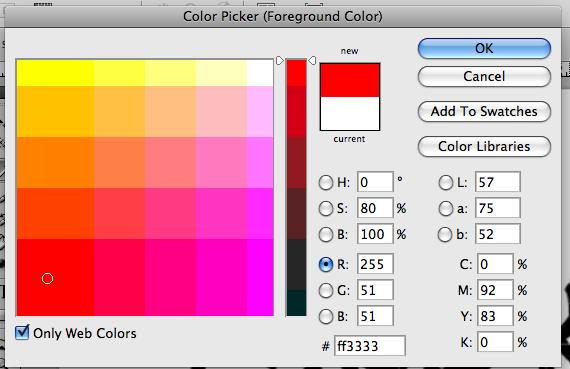
Put that little Circle (Picker) over the color you want.
You'll notice the new color appears in the Upper Center of the Pallet
above the Original Color . That's the New Color
Click OK
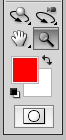
Now the Foreground Color Box is the Red I just chose
Now choose the Paint Bucket from the Tool Pallet
If it isn't there - click on and HOLD the Gradient Tool - the Paint Bucket is under that.
Make sure you have Layer 0 selected and just
Click the Paint Bucket anywhere on the page.
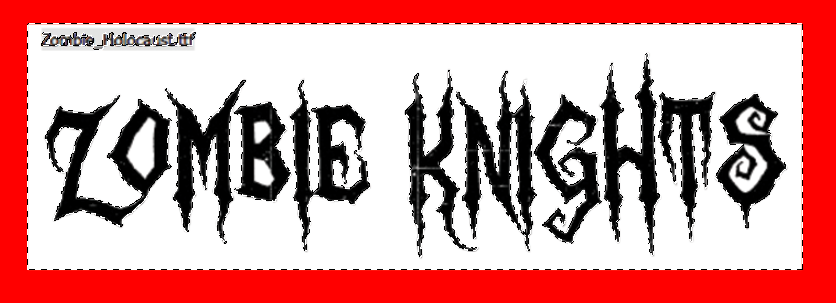
The whole Layer turns Red.
Note that the Type we've put on the Top Layer looks like a Strip of paper with our Type on it.
Now we're going to isolate just the type.

Choose the Magic Wand in the Tools Pallet -
If it's not immediately apparent, click and HOLD the Quick Selection tool and the Magic Wand is under that.
Click the Magic Wand on the White Area around the Type you want to isolate.
You'll notice that all the white outside of the Title looks like there are "Crawling Ants"
- a very professional term.
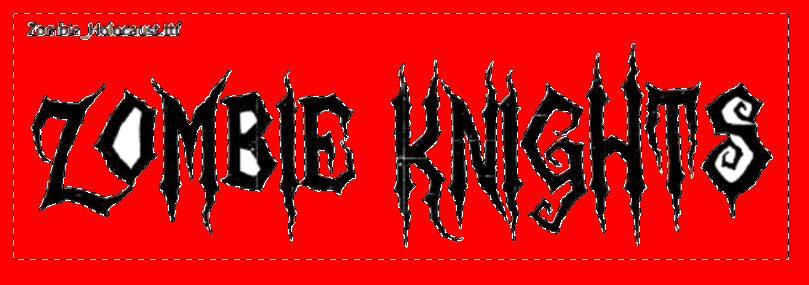
Click Delete and all the White disappears.
You'll notice there are letters with white still inside them.
Use the same process . . .
Change tools without going into the Tools Pallet:
Hold Down Control + Space Bar = Magnifying Glass Tool
- and draw a Rectangle around the letters with White inside
Let go of the Control Space Bar and you should still have the Magic Wand
Hold Shift and select each area with White in it. Click Delete. Don't Change Tools!

Hold down the Space Bar = The Hand Tool
and just move the page to the left to get to the "s" at the far right end of the Title.
Magic Wand the bottom part, hold Shift,
and select all three parts that are white in this one letter - Click Delete.
Click Control 0 (Zero) to make the page fit the Screen.
One more part - this is a long Tut!

Now we have to get rid of that bit of text at the top, left part of the Title.
Use the Rectangular Marquee Tool and simply
draw a Rectangle around that type and Click Delete.
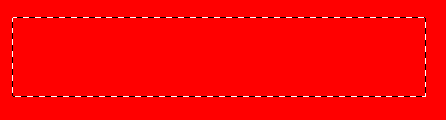
Here's that Rectangular Marquee with an empty space where that type used to be.
