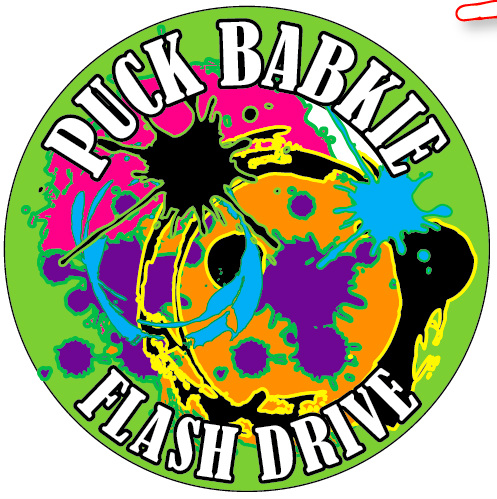
FLASH DRIVE NAME TAGS
I am finding your Flash Drives around the room and I want to give them back to you, but I don't know who's they are.
This Exercise will help us all understand the importance of having a personal Flash Drive and for having our names on it.
STEP 1
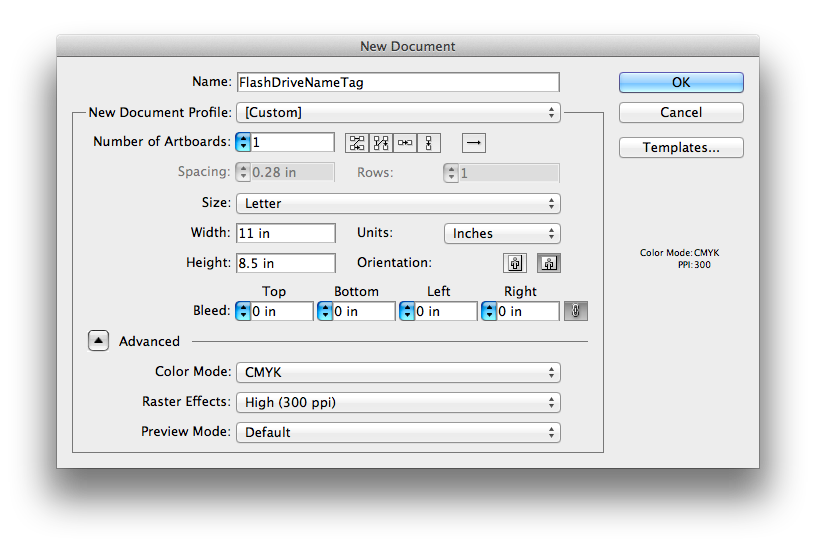
Create a New Page in Illustrator:
Size: Letter = 8.5 x 11 Inches
Save / Name the Page:
FirstInitialLastName
FlashDriveNameTagPdX

STEP 2
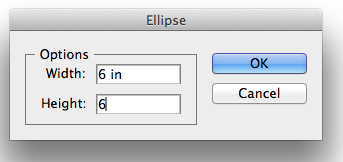
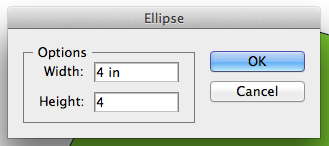
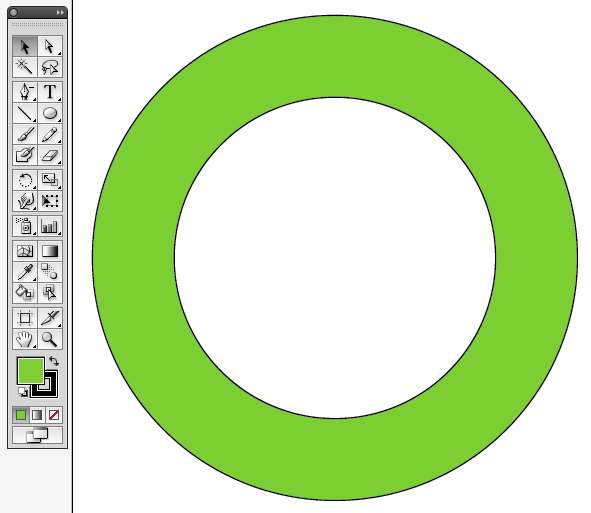
Choose the Ellipse Tool from the Shapes Tools Menu.
Click anywhere on the page and you'll see the ELLIPSE Menu appear.
Type in 6 (for width) • Hit the "TAB" Key • type in 6 (for height) and click "Enter".
This will give you a Perfect 6-Inch Circle.
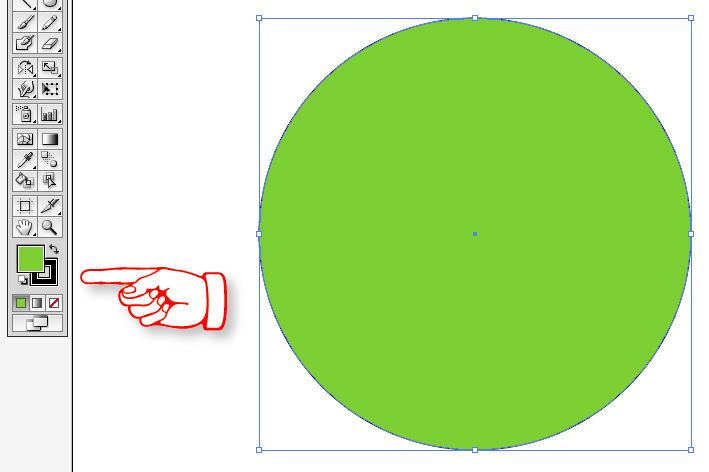
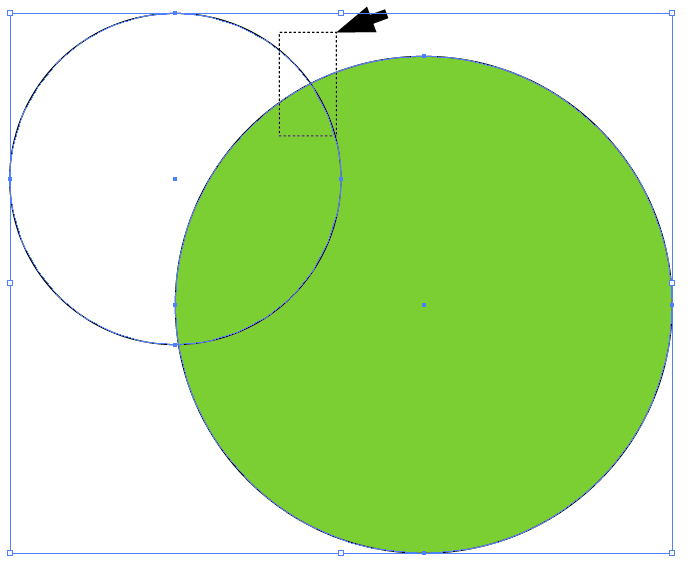
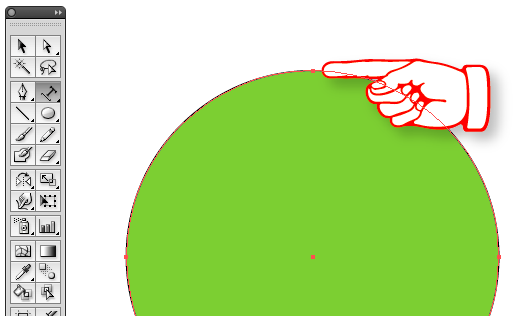
Give the Circle a GREEN FILL and a BLACK STROKE (see below) . . .
STEP 3 - Repeat the Ellipse Tool Process again but this time type in "4" . . . Hit the "TAB" Key . . ."4" for a 4-Inch Circle
STEP 4 - Give this Circle No Fill and a Black Stroke

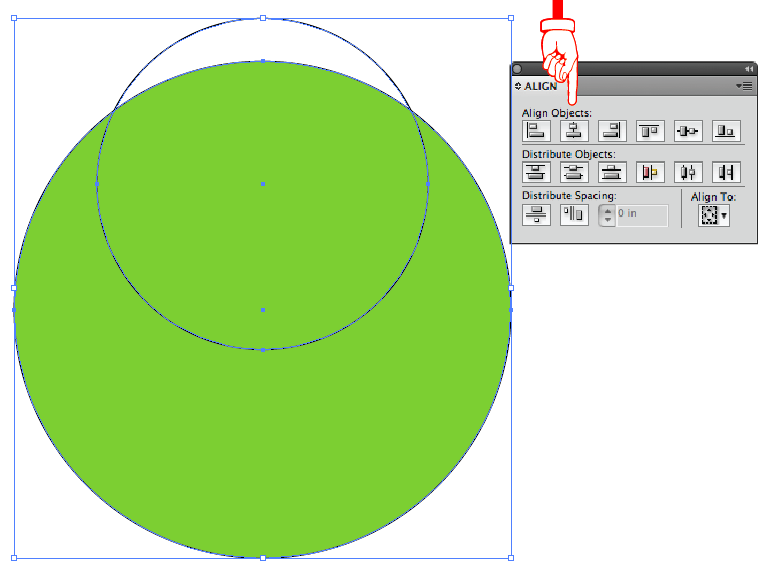
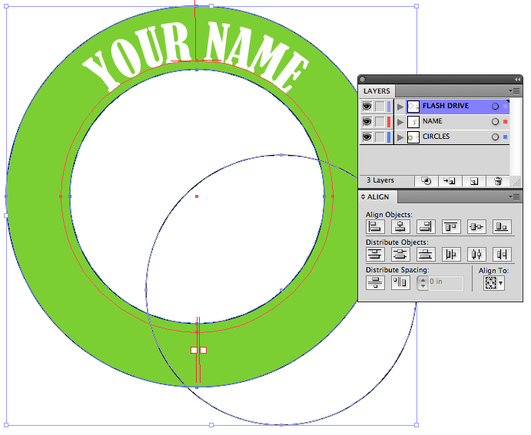
STEP 5 - ALIGNING THE 2 CIRCLES
Select the 2 Circles using the Selection Tool - keep it a small area just in case you have an extra point somewhere on the page
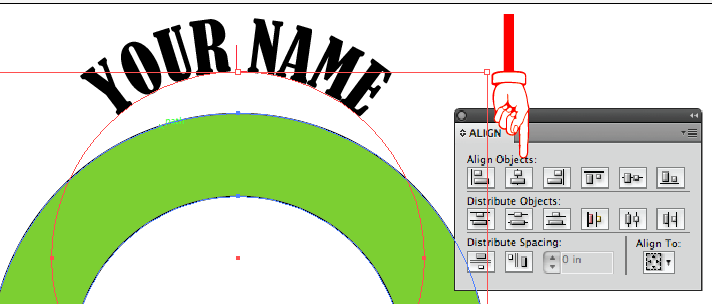
Using the ALIGN PALLET - Choose the HORIZONTAL ALIGN to line up the Circles up Side to Side (see below)
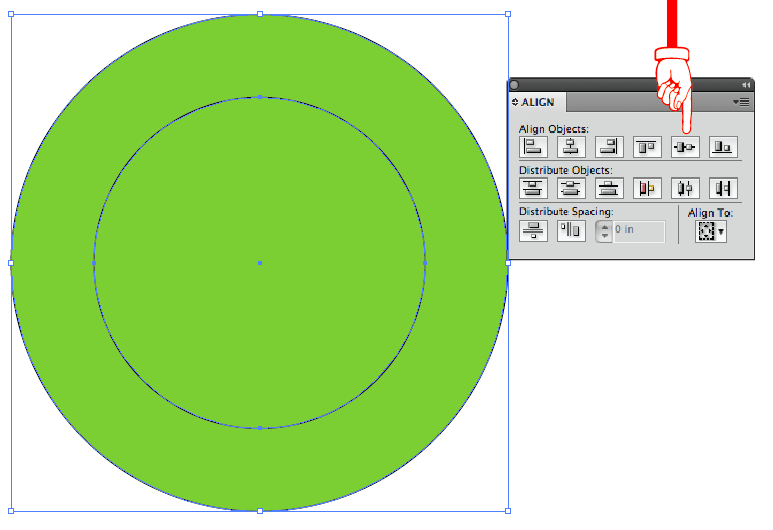
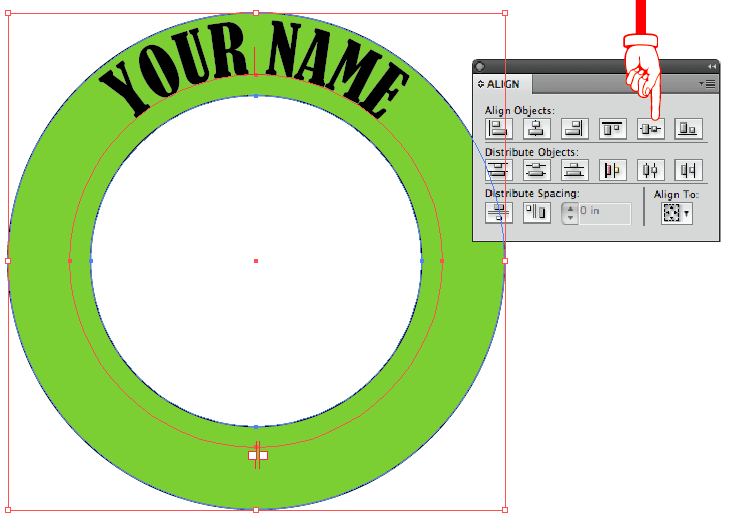
Keeping the Circles Selected - Choose the VERTICAL ALIGN to line up the Circles up Top to Bottom (see below)
STEP 6 -
KEEP THE CIRCLES SELECTED and Type Control 8 for COMPOUND PATH to Combine the 2 Circles with an Empty Center.
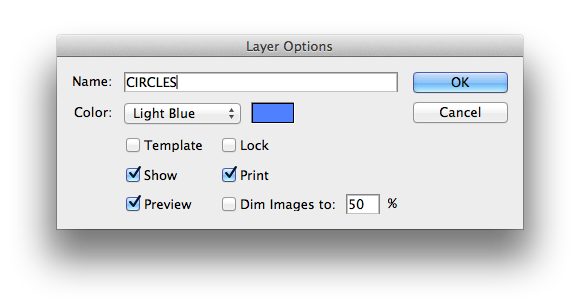
STEP 7 - NAMING THE LAYER
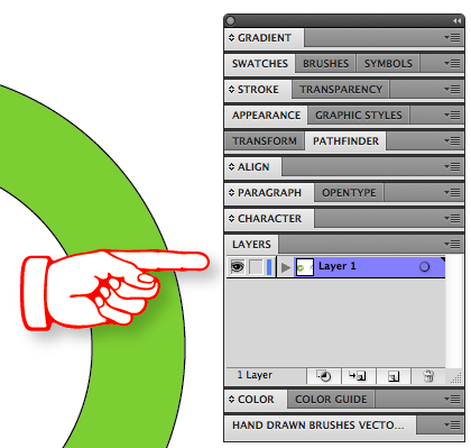
Double Click the Words "Layer 1"
inside the Layer Menu / Pallet
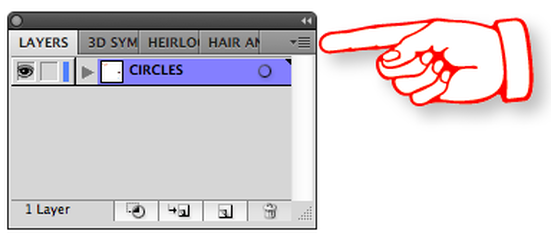
Name this Layer CIRCLES (See Below)
STEP 8 - MAKE A NEW LAYER
Click on this little area of Text
at the Top Left of the LAYERS Pallet

This Drop Down Menu appears and you'll
Choose "New Layer"
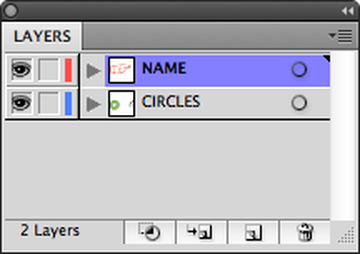
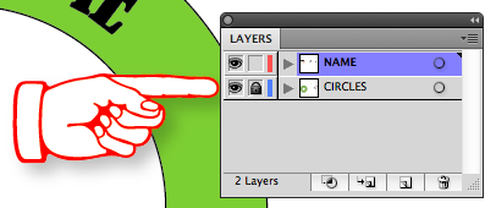
Double Click the words "Layer 2" and the Pop Up Menu will appear.
Type in "NAME"
This will help you Identify all the different Layers that you'll end up with.
Notice also, each layer has it's own Color Code to further help you identify your Layers.
See the Color Bar to the left of the Name of the Layer . . .
that is the Color Code for that Layer.
STEP 9 - TYPE ON A PATH
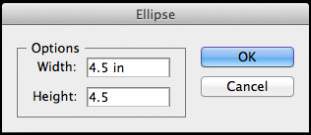
Double Click on the ELLIPSE TOOL again and
Type in "4.5" . . . Hit the "TAB" Key . . . Type in "4.5".
This will give you a new Circle a little bigger than the 4" one you made earlier.
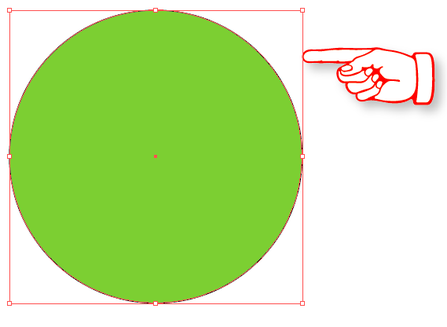
Here's your 4.5" Circle
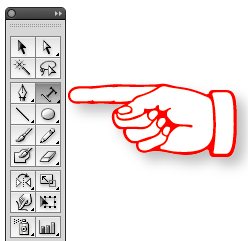
HOLD DOWN the "T" Tool until all the TYPE Tools appear.
Choose the TYPE ON A PATH TOOL from the TYPE TOOLS BOX
Choose the TYPE ON A PATH TOOL from the TYPE TOOLS BOX
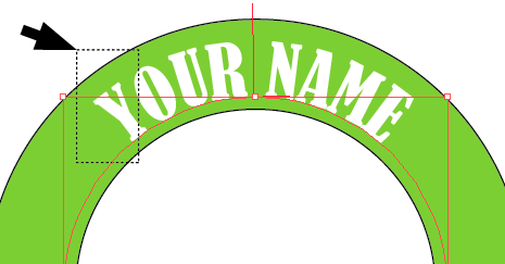
Put the Type on a Path Cursor directly
on that Top, Center Anchor Point and Click
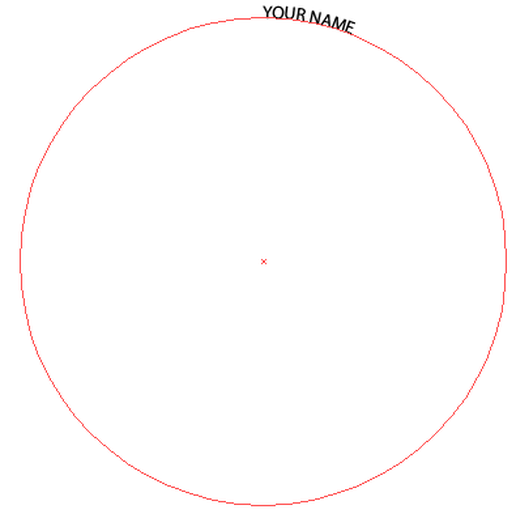
PUT THE CAPS KEY "ON"
Start Typing your name.
Yes it looks very small,
we'll fix that in the next step.
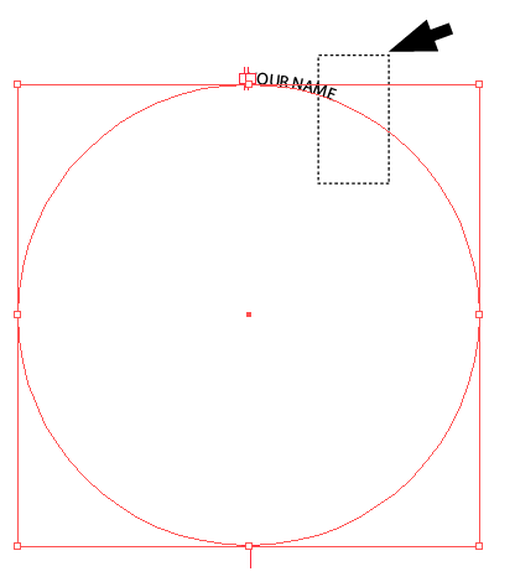
Using the SELECTION TOOL,
select the Circle with your name on it.
Follow the next Step carefully to
change the SPECIFICATIONS of your name . . .
STEP 10 - TYPE SPECS (SPECIFICATIONS)
At the Top of the Page (just above the art board)
you'll find the word Character in Blue and
3 Drop Down Menu Windows to the right:
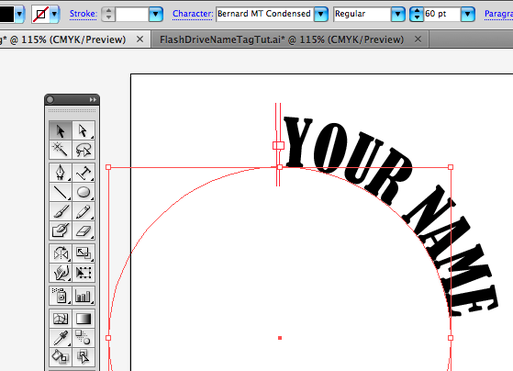
Type in the first 3 Letters of the Font we'll be using:
B-e-r, and a Font with those 3 letters will appear
there in that window.
Click on the Down Arrow to find the Font called
"Bernard MT Condensed"
Leave the next window alone and then in the
3rd Window, click on the Drop Down Arrow,
Scroll down to and chose 60 Point.
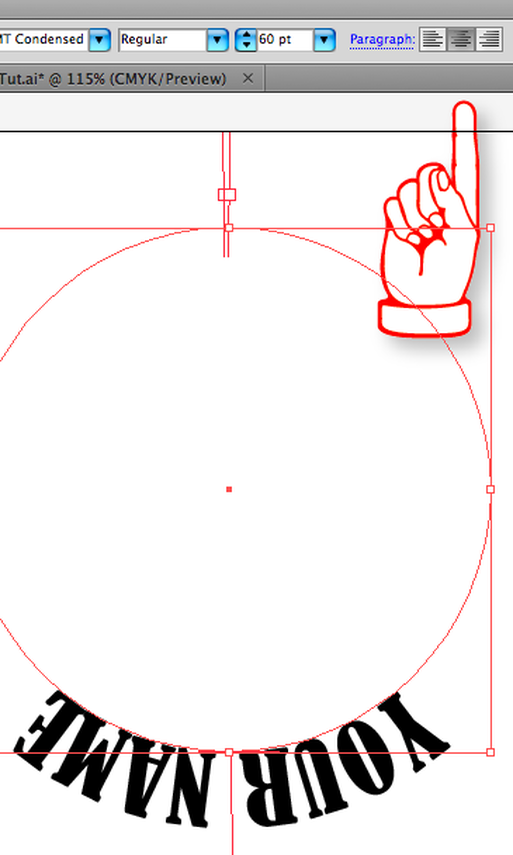
The next part of Specifying Type is to
Align it Centered:
To the right of the Type Size is the
Paragraph Choices:
Flush Left • Centered • Flush Right
You'll choose the CENTERED Option and the
Type will automatically swing around - down to the
Centered position on the Path -
DON'T TOUCH IT! LEAVE IT!
____________________________________________
SAVE! Control "S"
Save this File on your TCH Server:
Find your TCH (562) Computer
Find your GD1 1st Quarter (Main Folder)
Make a New Folder for this Exercise:
Name it FLASH DRIVE NAME TAG
Then name the File FlashDriveNameTag
be sure to include your name and
what Period you're in:
FlashDriveNameTagABabkiePd0
(No Spaces, Initial Caps, 1st Initial, Last Name, Pd?)
Before Class is over,
you'll put just this Folder on your Flash Drive
STEP 11 - ROTATE TOOL

|
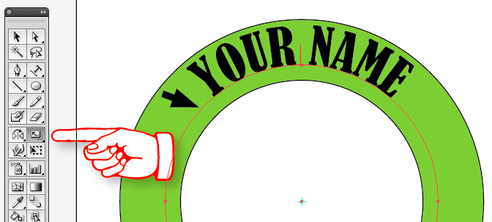
With your (Name) Type on a Path still selected choose the ROTATE TOOL from the Tools Menu |
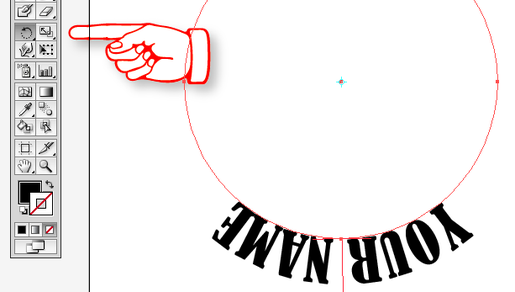
DOUBLE CLICK right there INSIDE THE TOOL
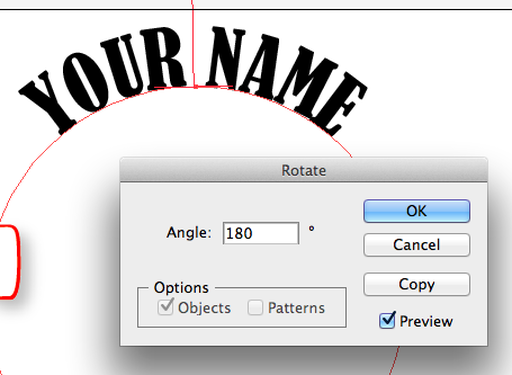
Type in 180 and Click "Preview"
Your Name will swing right around up to the top . . .
No need to plug in a million spaces!
You will never do that again now that you are a
real, live Graphic Designer right? . . . RIGHT!
SAVE! Control "S"
Align Both Layers: Type on a Path and Circles:
|
|
|
Lock the CIRCLES Layer
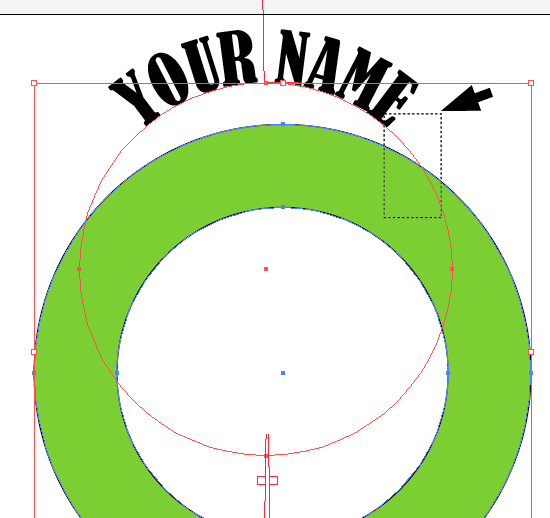
STEP 12 - SCALE TOOL
Use the Selection Tool to select the Type on a Path
(Your Name)
Choose the SCALE TOOL from the Tool Box and
DOUBLE CLICK inside the SCALE TOOL.
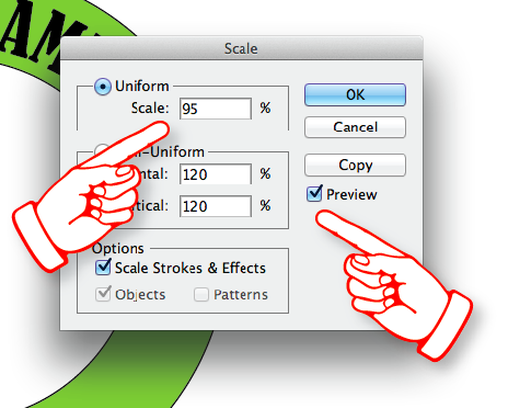
The Scale Tool Menu will pop out and you'll
Type "95" in the Top Option
and Click "Preview"
Keep the Type on a Path selected
and give it a White Fill
ALSO - Make sure you make the Type Size 60 Point
from the Character Menu at the Top . . .
I don't have a picture here, I forgot to do this part -
but you can do this.
SAVE! Control "S"
STEP 13 - Setting up the Lower Type

Lock the Layers: Name and Circles
Make a New Layer and name it FLASH DRIVE.
See STEP 8 for a reminder on how to do this.
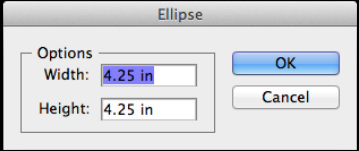
Choose the Ellipse Tool from the Shapes Tools Menu.
Click anywhere on the page and the ELLIPSE Menu will appear.
Type in 4.25 • Hit the "TAB" Key • type in 4.25 and click "Enter".
Yes, we want a 4.25" Circle now.
Woops - Unlock your Layers - Sorry Bro
Select all your Layers using your Selection Tool
Align all your Circles, Name and Flash Drive
See STEP 5 for a Reminder on how to do this part
When you are done Lock the
NAME and CIRCLES Layers
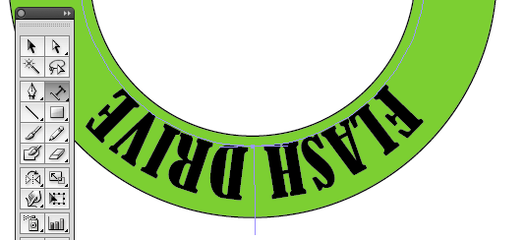
Use your Type on a Path Tool to
Type the word FLASH DRIVE.
Type the word FLASH DRIVE.
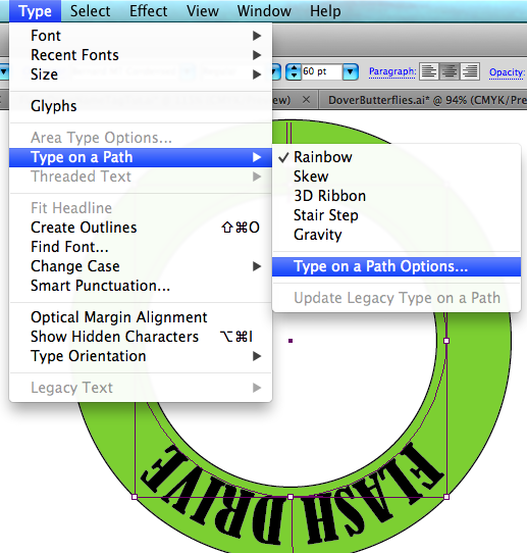
Select your FLASH DRIVE Type
with the SELECTION TOOL
Go up to the "Type" Option at the very TOP MENU
Go down to "Type on a Path"
Go down to "Type on a Path Options ..."
The Type on a Path Options Window will open.
See Below for Settings
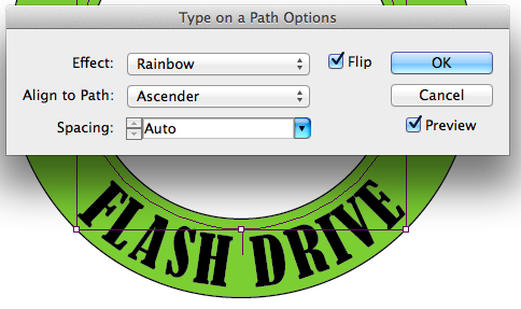
Once the Type on a Path Options Window is open,
Choose 3 things:
Check Flip
Check Preview and
Choose "Ascender" so the Type will Flip around
SAVE!
THE HOME STRETCH! SYMBOLS and CUSTOMIZATION
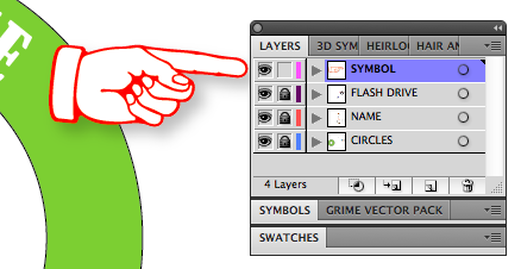
Lock all your Previously made Layers
and Make a New Layer
and name it SYMBOL.
Have your Swatches Pallet available
as well as your Symbols Pallet.
If they are not on the Desktop,
go up to Window at the Top of your Workspace
and look for them in there.
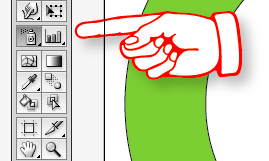
Choose the SYMBOLS TOOL from the Tools
|
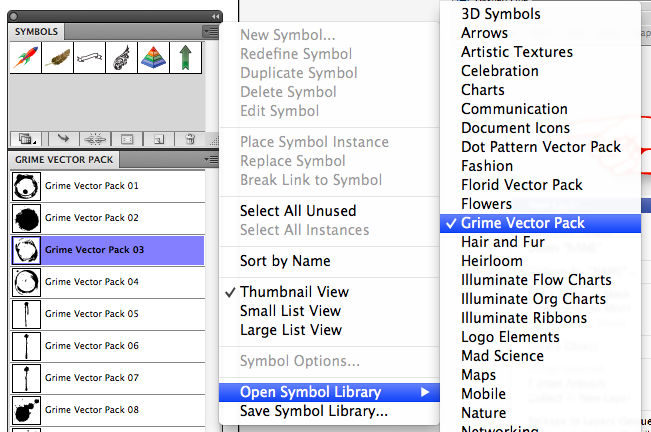
Click on the Upper Right Side of the
Symbols Pallet and Choose "Open Symbols Library" I chose the Grime Vector Pack for some Splatters and Spills |

With the Symbols Tool Selected and one of the Symbols chosen (in the Pallet) Click once, change Symbols, Click once and Repeat as you build up more Splatters and Spills. I made too many here - I'll fix that.
|
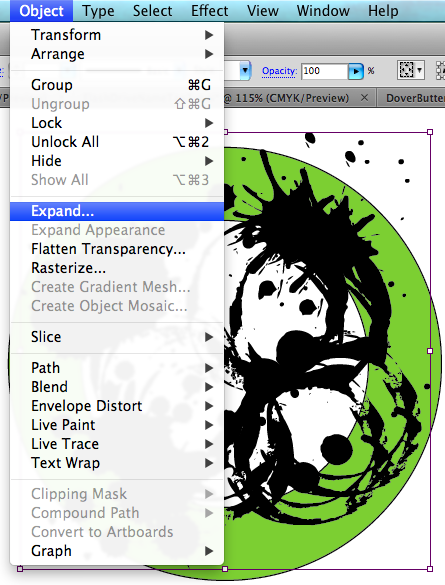
Select the area of Symbols using the
SELECTION TOOL Go up to the Top Menu and choose "Object" Scroll down to and Choose "Expand...." |
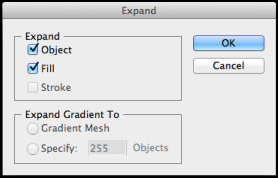
Once the Expand Menu Pops Up Click OK
|
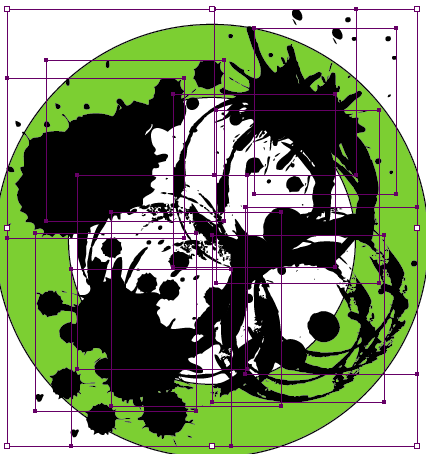
You'll see you still can't really manage the Symbols, so, Repeat the first 2 Parts right here . . .
Choose Object at the Top of the Page, choose Expand..., Each of the Symbols will separate into its own Shape. |
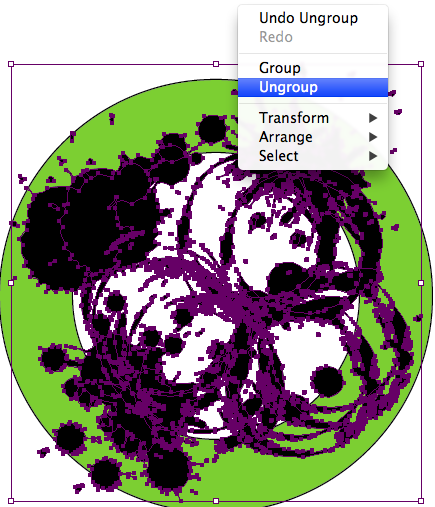
Select all the Symbols,
RIGHT CLICK and Choose "Ungroup" |
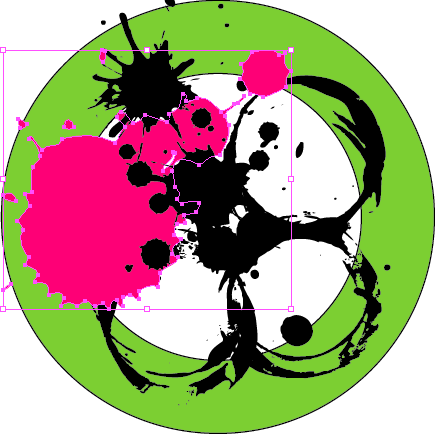
Now you should be able to manage the Symbols one at a time, delete some, change them, enlarge them and reduce them . . . Have some FUN! PLAY!
I turned off the other Layers so can just Play with the Symbols - now that I know how to do it! |
AND VOILA! THE FINAL RESULT . . .