THE PATHFINDER TUTORIAL - October 16th - 23rd
This week we'll be focused on the PATHFINDER TOOLS. This is a powerful tool with many options. I use this tool in my business in one way or another every day. It's a versatile tool and it's fun to use and learn about. I will demonstrate in class and you can follow along. I am putting this Tutorial online for my Students who are working from home. Please remember I am working on a Mac, in CS4, so the "look" of the workspace may be slightly different than what you are working with.
_______________________________________________________________________________________
STEP 1: SAVE THE CHART FOR REFERENCE
Start by Saving this "Chart" in a "New Folder" in your Graphic Design 1 - 1st Quarter Main Folder.
Name the New Folder Pathfinder Tools
Click Here for "The Chart"
_____________________________________________________________
MAKE A NEW PAGE
Now - Make a "New Page" and NAME it Pathfinder-YourLastName-Pd0.ai
Size: Letter (8.5 x 11) • Units: Inches • Portrait
________________________________________________________________________________
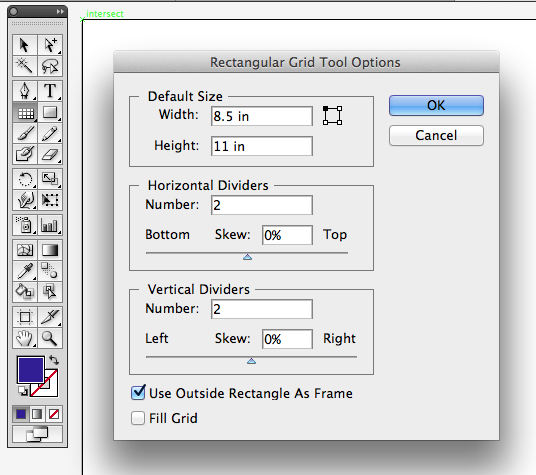
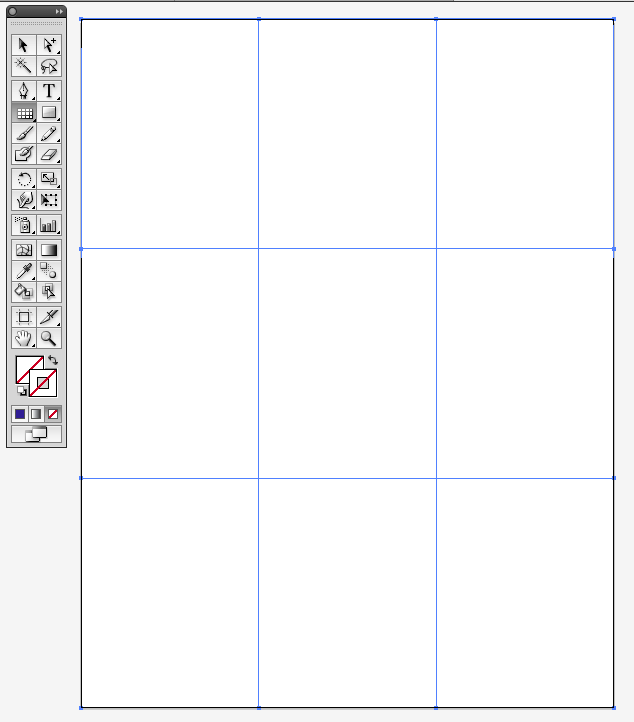
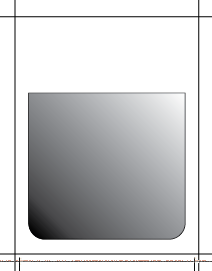
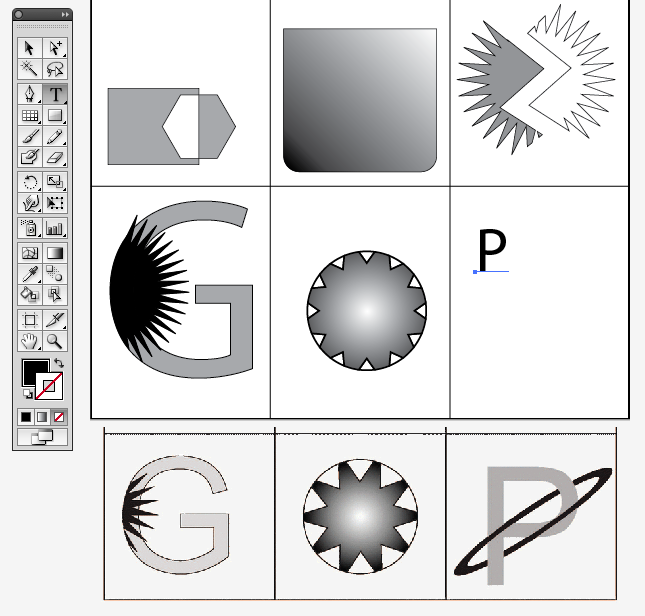
USING THE RECTANGULAR GRID TOOL
Now we'll use the RECTANGULAR GRID TOOL which is in the LINE SEGMENT TOOL Section.
Click the Rectangular Tool Crosshairs on the Upper Left Hand Corner of the page
_______________________________________________________________________________________
STEP 1: SAVE THE CHART FOR REFERENCE
Start by Saving this "Chart" in a "New Folder" in your Graphic Design 1 - 1st Quarter Main Folder.
Name the New Folder Pathfinder Tools
Click Here for "The Chart"
_____________________________________________________________
MAKE A NEW PAGE
Now - Make a "New Page" and NAME it Pathfinder-YourLastName-Pd0.ai
Size: Letter (8.5 x 11) • Units: Inches • Portrait
________________________________________________________________________________
USING THE RECTANGULAR GRID TOOL
Now we'll use the RECTANGULAR GRID TOOL which is in the LINE SEGMENT TOOL Section.
Click the Rectangular Tool Crosshairs on the Upper Left Hand Corner of the page
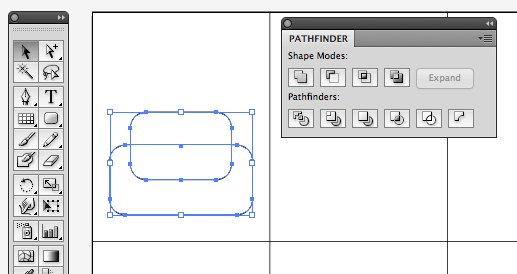
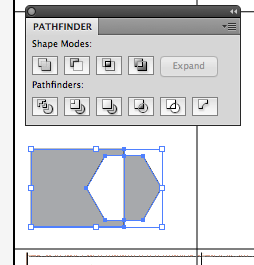
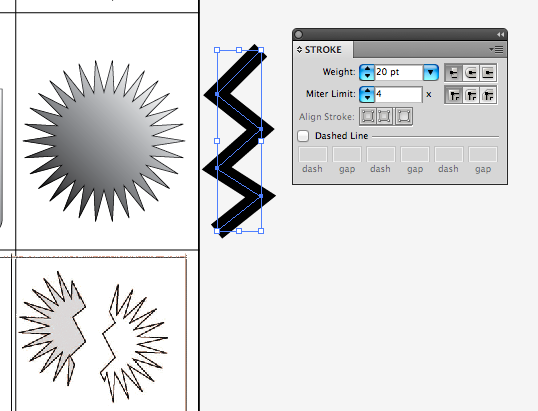
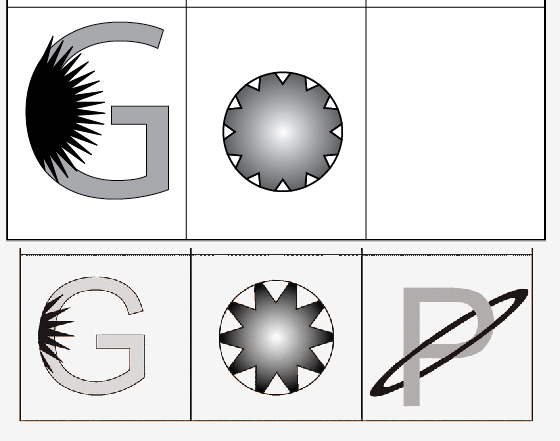
STEP 2: WORKING WITH THE PATHFINDER PALETT
You will see there are particular parts to each Section of the Chart. I will call this "SET-UP":
"PLACE" the Chart you just Saved on this page:
Go to "File" at the Top of the Page. Scroll down to Place . Get the Chart from the Folder.
Put it on the page where you can see it for reference
Now - Begin the 9 Sections of the Pathfinder Tools:
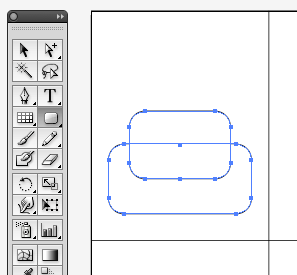
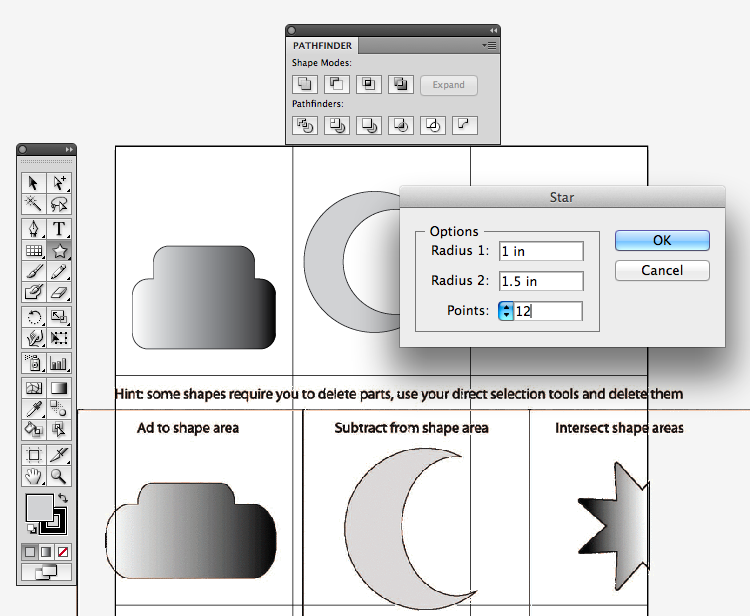
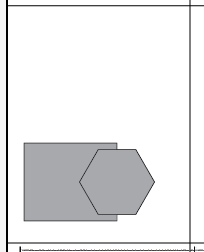
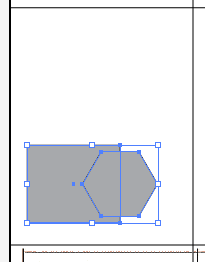
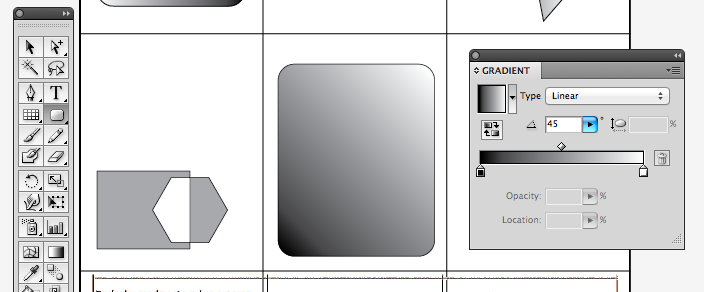
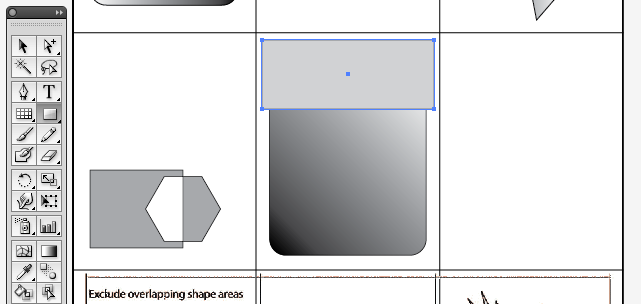
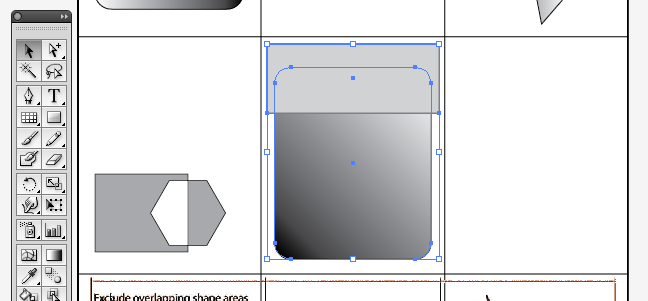
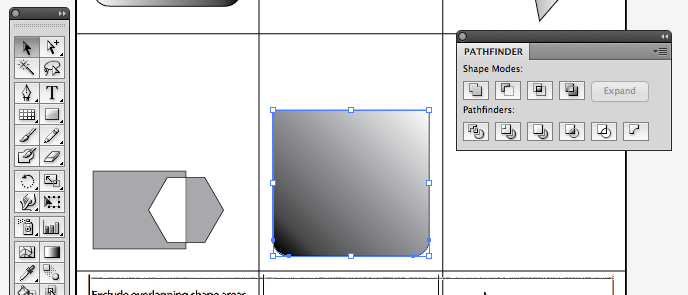
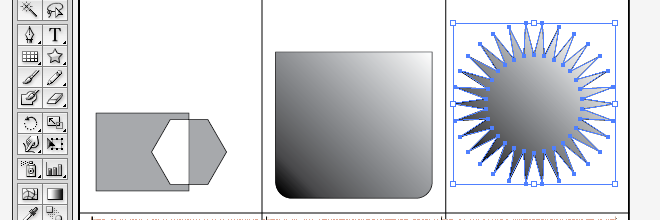
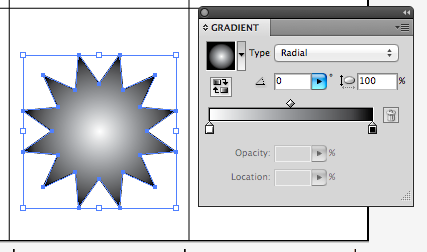
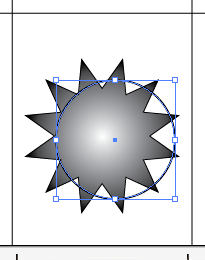
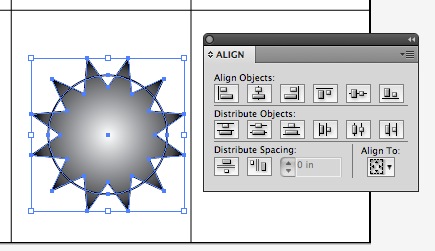
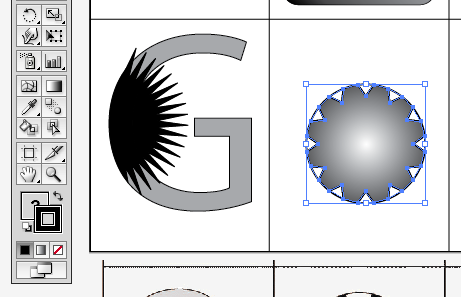
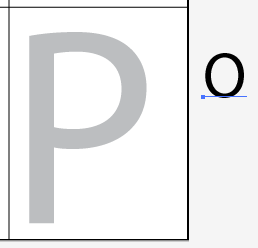
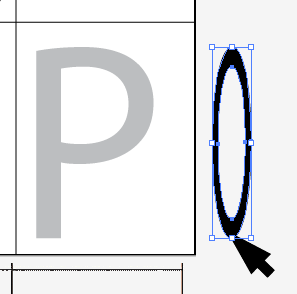
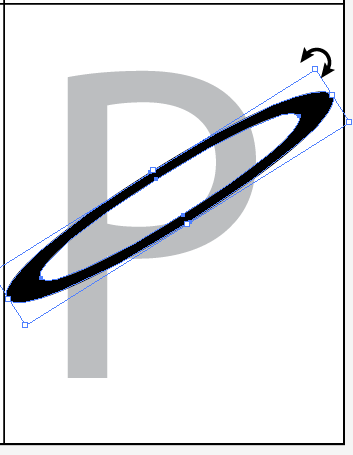
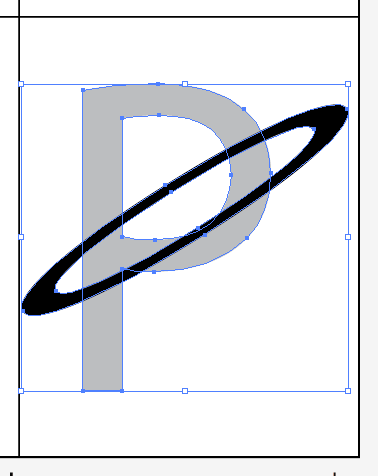
UNITE: The SET UP and Pathfinder Functions for the first section is as follows:
"PLACE" the Chart you just Saved on this page:
Go to "File" at the Top of the Page. Scroll down to Place . Get the Chart from the Folder.
Put it on the page where you can see it for reference
Now - Begin the 9 Sections of the Pathfinder Tools:
UNITE: The SET UP and Pathfinder Functions for the first section is as follows:


SAVE! Control "S"
SUBTRACT / MINUS FRONT: The SET UP and Pathfinder Functions for the Second section is as follows:
SUBTRACT / MINUS FRONT: The SET UP and Pathfinder Functions for the Second section is as follows:


SAVE! Control "S"
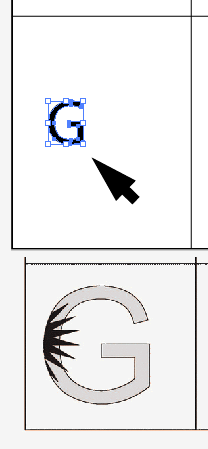
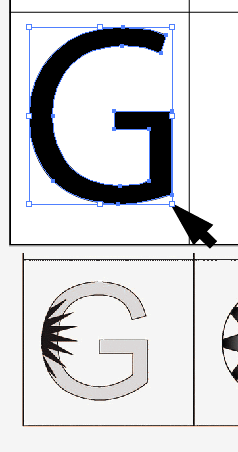
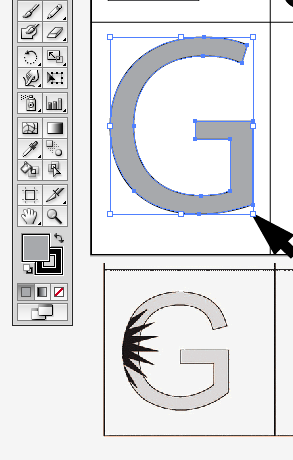
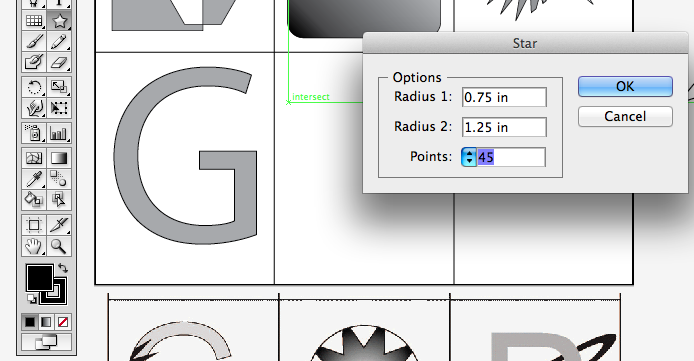
INTERSECT: The SET UP and Pathfinder Functions for the Third section is as follows:
INTERSECT: The SET UP and Pathfinder Functions for the Third section is as follows:
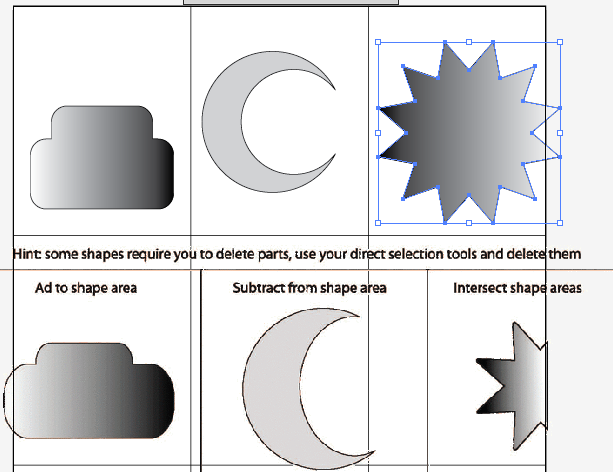


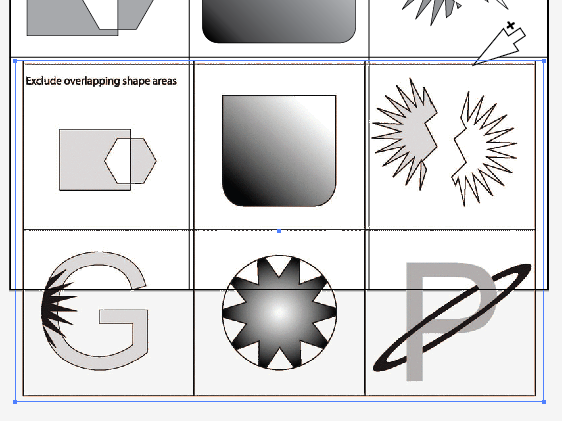
SECOND ROW OF THE PATHFINDER TOOLS PALETT GETS A LITTLE MORE DIFFICULT - YOU CAN DO IT!
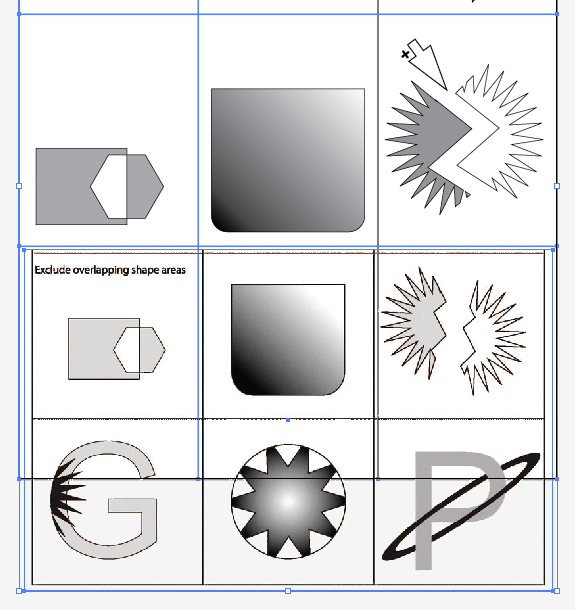
Make sure you have the Chart on the Page so you can see how each Exercise should look when it's done.
If you didn't already, follow the directions (above, see PLACE in RED) to "Place" the Chart on the Page.
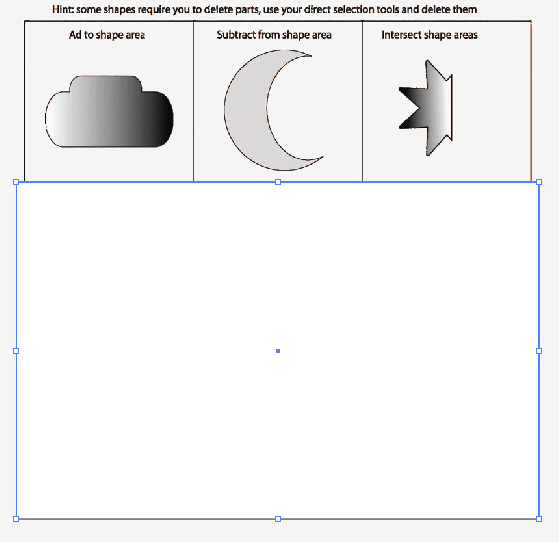
MAKE A CLIPPING MASK OF THE PLACED CHART:
I make a "Clipping Mask" - clipping off the Top Row of Sections that I've already done.
Now I can see the 2nd Row of SET-UPS and Functions clearly.
See the Sequence below for a Step-by-Step of how to set it up.
Make sure you have the Chart on the Page so you can see how each Exercise should look when it's done.
If you didn't already, follow the directions (above, see PLACE in RED) to "Place" the Chart on the Page.
MAKE A CLIPPING MASK OF THE PLACED CHART:
I make a "Clipping Mask" - clipping off the Top Row of Sections that I've already done.
Now I can see the 2nd Row of SET-UPS and Functions clearly.
See the Sequence below for a Step-by-Step of how to set it up.


SAVE! Control "S"
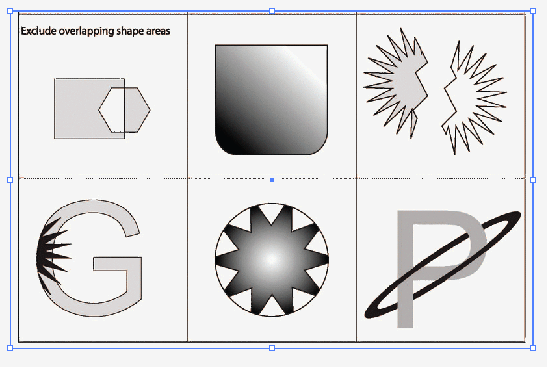
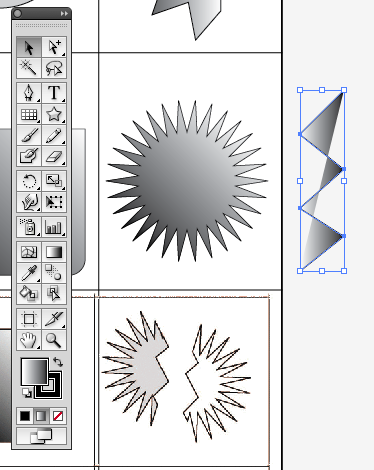
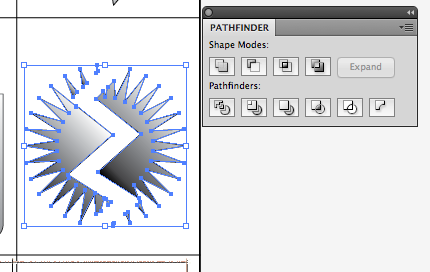
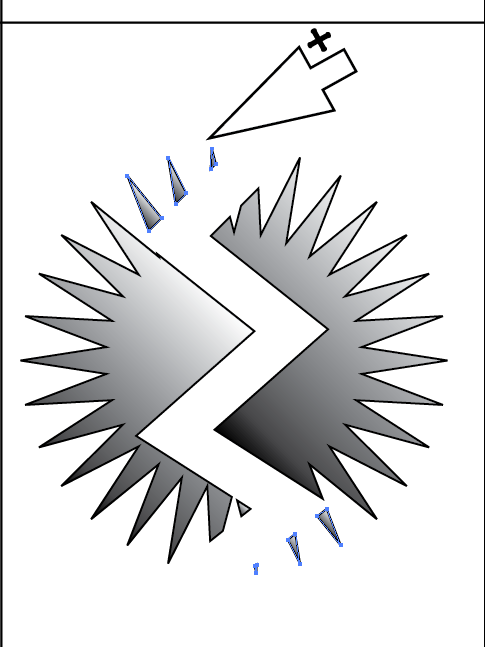
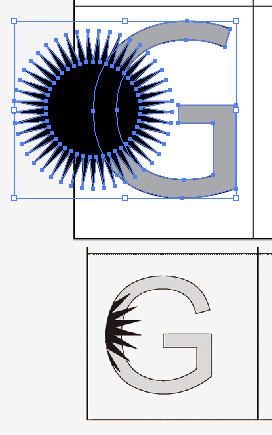
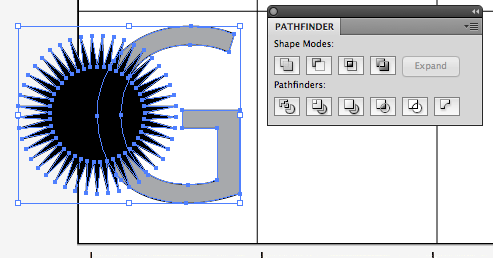
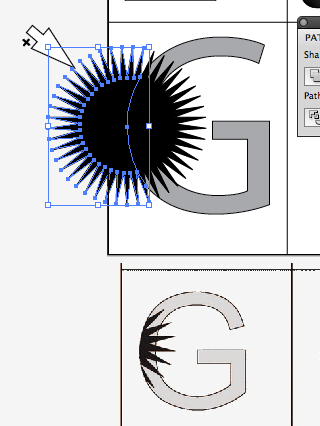
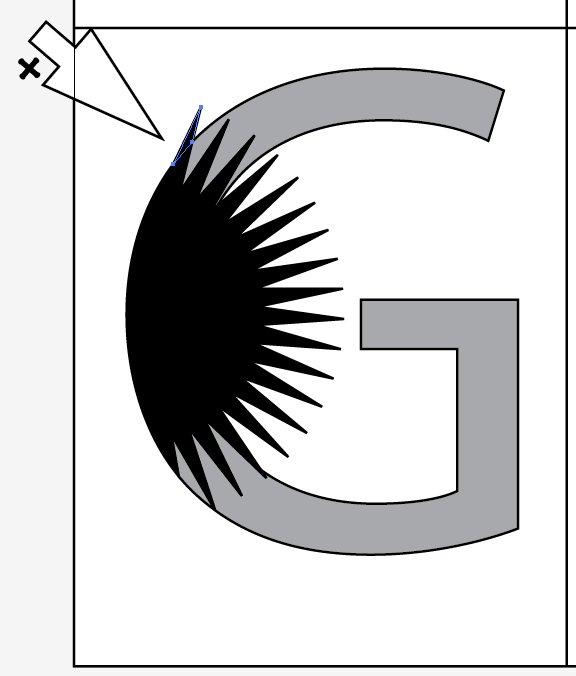
EXCLUDE: The SET UP and Pathfinder Functions for the 2nd Row • 1st Section is as follows:
EXCLUDE: The SET UP and Pathfinder Functions for the 2nd Row • 1st Section is as follows:

SAVE!
MINUS / SUBTRACT FRONT: The SET UP and Pathfinder Functions for the 2nd Row • 2nd Section is as follows:
MINUS / SUBTRACT FRONT: The SET UP and Pathfinder Functions for the 2nd Row • 2nd Section is as follows:
SAVE!
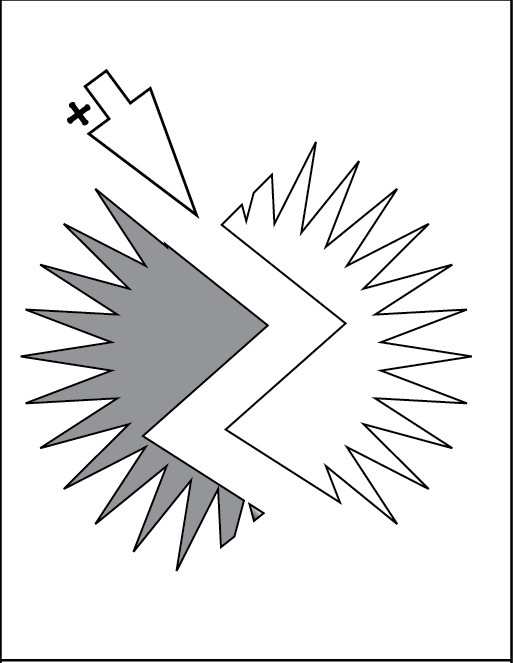
EXCLUDE: The SET UP and Pathfinder Functions for the 2nd Row • 3rd Section is as follows:
EXCLUDE: The SET UP and Pathfinder Functions for the 2nd Row • 3rd Section is as follows:


SAVE!
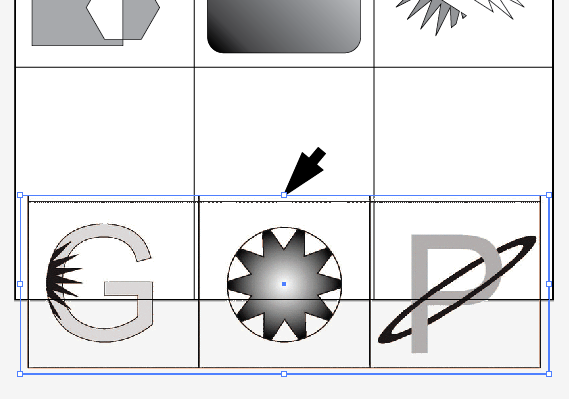
CHANGING THE CHART CLIPPING MASK to JUST SHOW THE BOTTOM ROW OF SECTIONS TO WORK ON.
Pay close attention here, it's a little technical. Sorry.
Follow the steps below to unlock the Chart,
and resize the Clipping Mask to just show the 3rd / Bottom Row of Sections to work on . . .
CHANGING THE CHART CLIPPING MASK to JUST SHOW THE BOTTOM ROW OF SECTIONS TO WORK ON.
Pay close attention here, it's a little technical. Sorry.
Follow the steps below to unlock the Chart,
and resize the Clipping Mask to just show the 3rd / Bottom Row of Sections to work on . . .

SAVE!
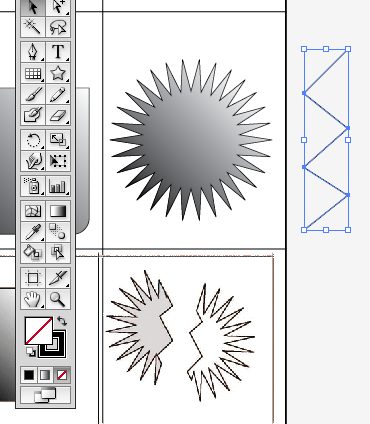
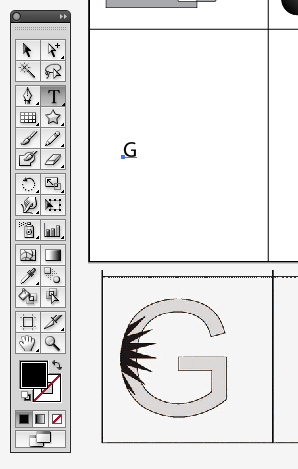
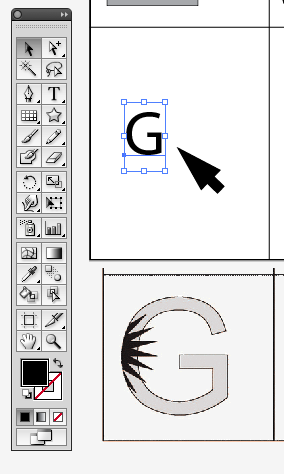
DIVIDE: The SET UP and Pathfinder Functions for the 3rd Row - 1st Section is as follows:
DIVIDE: The SET UP and Pathfinder Functions for the 3rd Row - 1st Section is as follows:


SAVE!
CROP: The SET UP and Pathfinder Functions for the 3rd Row - 2nd Section is as follows:
CROP: The SET UP and Pathfinder Functions for the 3rd Row - 2nd Section is as follows:

SAVE!
DIVIDE: The SET UP and Pathfinder Functions for the 3rd Row - 3rd and LAST Section is as follows:
DIVIDE: The SET UP and Pathfinder Functions for the 3rd Row - 3rd and LAST Section is as follows:


SAVE!
Okay! You did a GREAT JOB! That is a very hard Palett to work with and you did it!
I use this palett in my work, but not often enough to know which tool does what on the first click.
I usually have to try a couple of the tools to find the right one for the job.
So, if a couple of these were hit or miss, don't stress, it happens to the pros too!
Save this page - and E mail it to me and I'll get your grade up as soon as I can.
We have a week to work on this Project. I'm here to help. Let's do this!
| 2090787_orig.gif |
