TUTORIAL FOR FEBRUARY 14TH • GOLD DAY: 2 • 4 • 5 & 6
Work on this for the whole class today as I am in a Training for the Day.
You must E-mail me your work today or get a "0" (F) for today. I gave a lot of 0s out yesterday.
Please follow the directions I am providing for you - slowly and methodically.
There are a couple of different ways to do many of the parts of this Tut.
This tutorial is meant to give you a LOT of little operations and tools to use to do them.
Do this tut before you get too far with your Video Game Box.
It'll teach you how to change and recreate parts of Photos.
I'll do my best to give you good guidance . . . here goes.
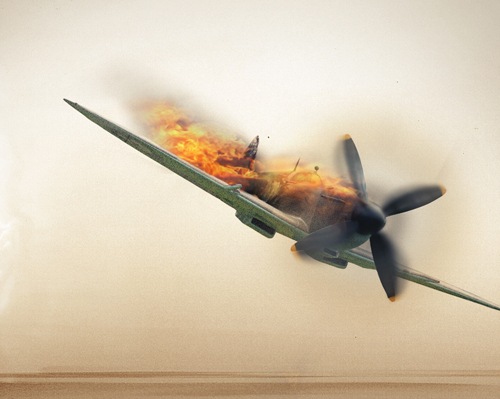
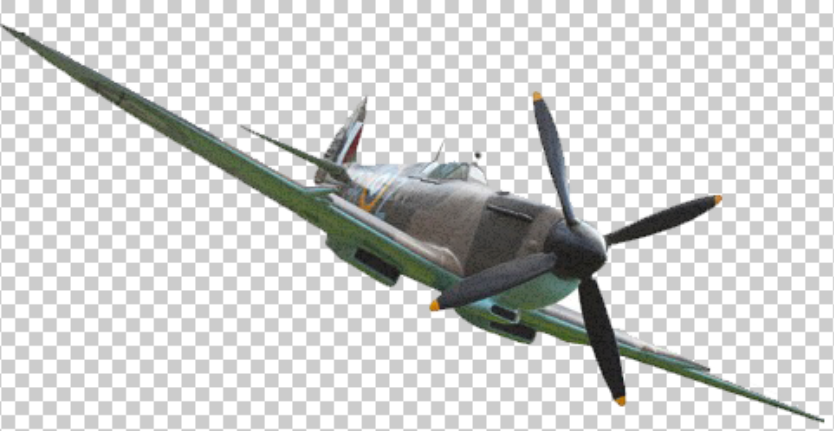
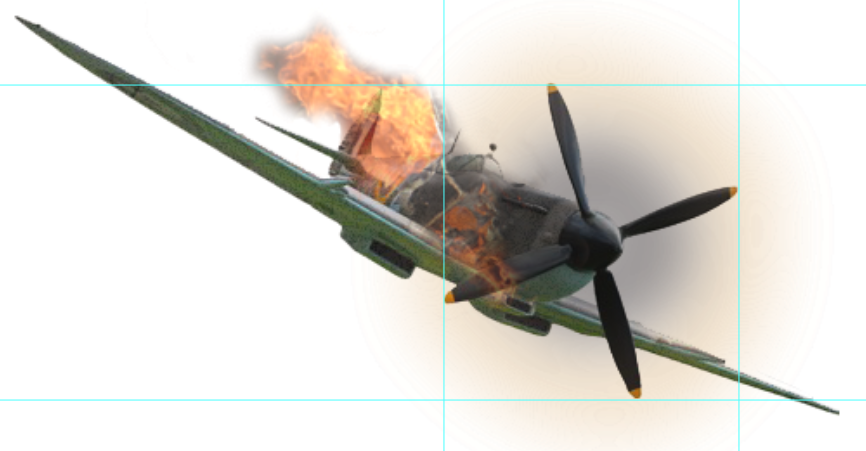
Click on the Picture of the Burning Vintage Plane at left to see a larger view.
STEP 1
Create a new document with dimensions: 550 x 400 pixels.
< Click to make this Picture Big and "RIGHT CLICK" it to Save this Image . . .
SAVE THIS IMAGE in a NEW FOLDER named TUTORIAL-February13th.
Then PLACE it into your document.
If that doesn't work - Do the COPY & PASTE Method.
Use the "MOVE TOOL" to Center the whole area better.
< Click this image to see a larger view

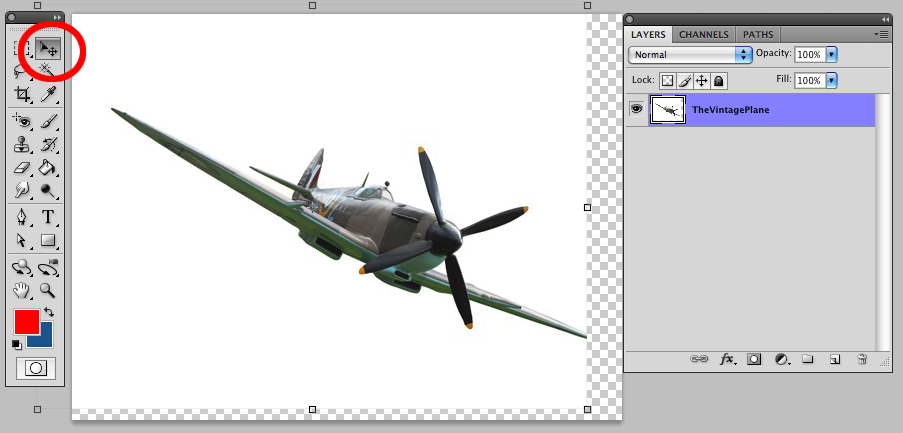
Select the WHITE AREA around the Plane with the "MAGIC WAND"
< Click this image to see a larger view
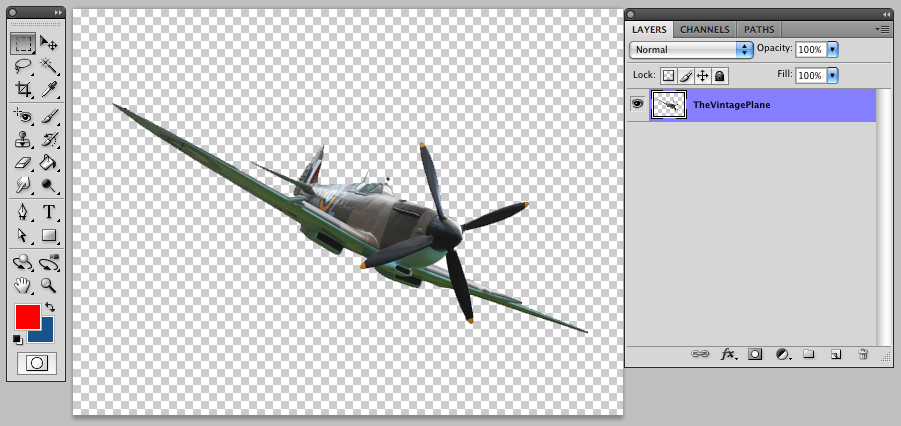
DELETE the WHITE to reveal a Transparent Background
< Click this image to see a larger view
SAVE NOW in the TUTORIAL FOLDER as BurningPlaneTutorial.psd (Photoshop Document)
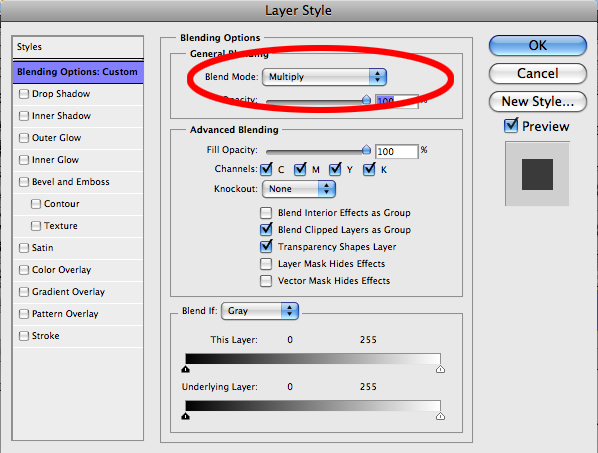
Double-Click the Layer to get the
"Layer Styles Menu" and change the
BLEND MODE of this layer to MULTIPLY.
< Click this image to see a larger view
STEP 2
We are going to add some "NOISE" to the plane because it looks a bit too clean.
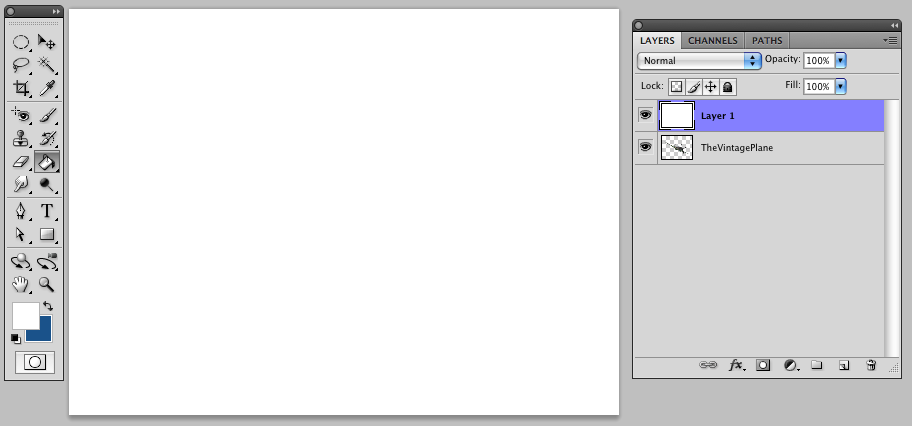
CREATE A NEW LAYER above the plane then
VERY IMPORTANT STEP:
Using the PAINT BUCKET Fill the Layer with WHITE:
Now, follow the steps below . . .
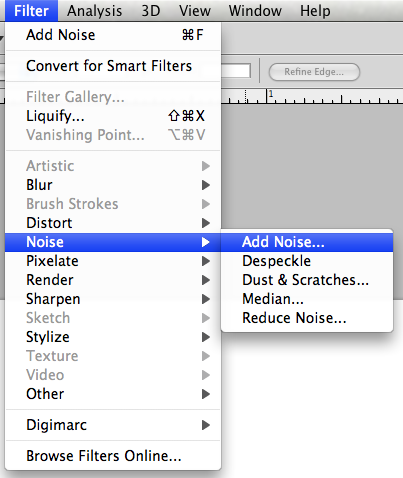
Choose: Filter > Noise > Add Noise
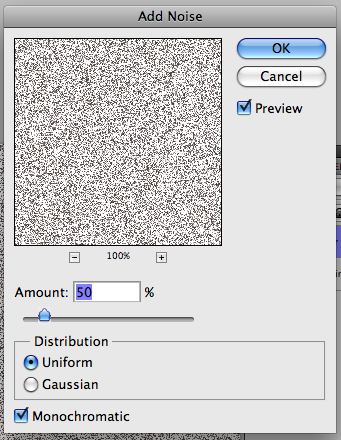
Use a VALUE OF 50%
and CHECK UNIFORM
and MONOCHROMATIC.
< Click this image to see a larger view
STEP 3
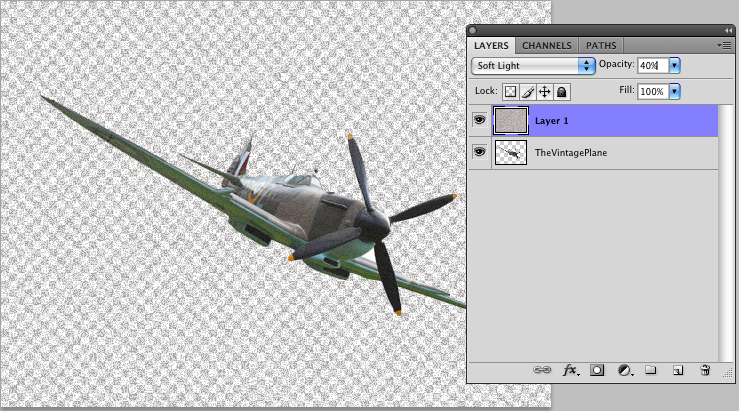
Set this "Noise" layer to 40% OPACITY and
CHANGE the BLEND MODE to SOFT LIGHT then
with this Layer Selected go to the "LAYER" Option at the Top and . . .

Scroll down to "CREATE CLIPPING MASK"
Click that and . . .
Check it out . . .
The Plane has that "Noise" on it but the Background is Clear . . .
It's kind of subtle, but it's there.
Click the Picture to see a Larger View.
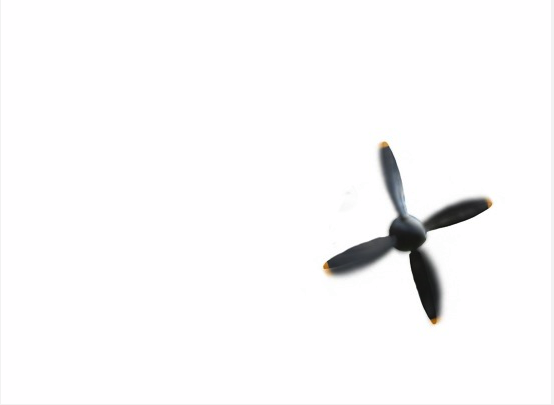
STEP 4
Since this is an image of a model plane the propellers are obviously not moving so we're going to make them move in Photoshop.
To do this we first have to make a copy of the plane then extract the propeller.
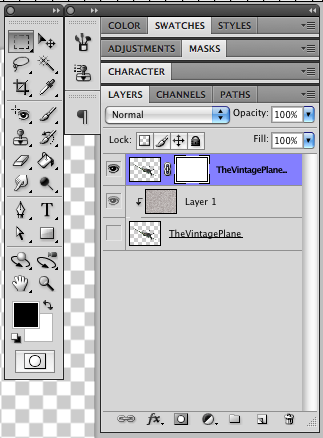
First hold the Alt Key and drag the plane layer above the noise layer,
this will duplicate the layer but not break the clipping mask.
Now hide the original plane layer (Turn off the Eye) then

Select the new plane layer and Erase everything except the Propeller.
Select the Eraser Tool and choose a hard, round brush.
Erase everything besides the Propeller.
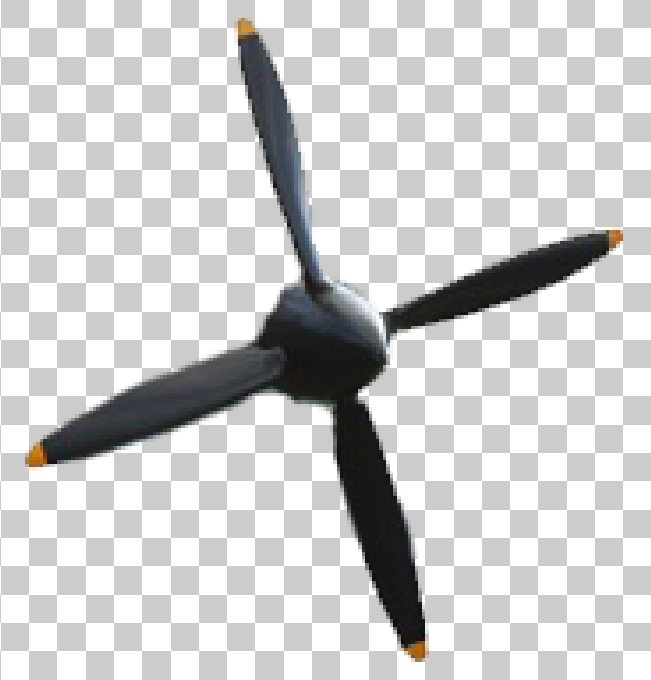
Get up close by holding down the
Control Key and the Space Bar to get the Magnifying Glass.
It should end up looking like this.
Click that picture to see a larger view.
STEP 5
Select the SMUDGE TOOL
(hover the Mouse over the Tools to find the Smudge Tool - hint - it's on the left side)
and choose a brush with 0% hardness and a size of
about 60 pixels then change the strength to 50%.
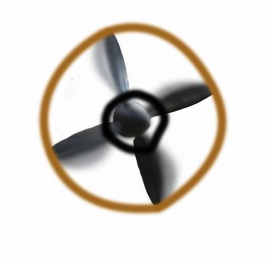
One blade at a time, just drag from the blade counter-clockwise
slightly a few times to give the smudged effect shown at left.
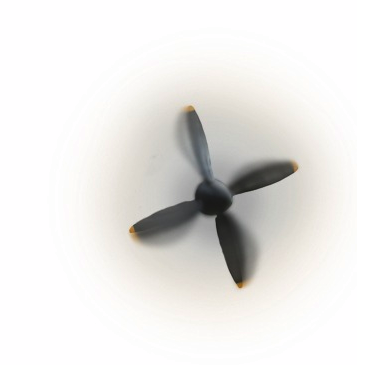
STEP 6

REPEAT STEP 5 - ALL OF IT
but this time drag out a bit further then change the opacity of this layer to 50%.
STEP 7
We're going to make make it look even more like its spinning as well as adding some smoke.
CREATE A NEW LAYER
then select the brush tool and with a 0% hardness brush
with a diameter of about 10 pixels draw two rough circles:
One in black and One in the same color as the tip of the blades*.
*Use the Eyedropper Tool to sample the Color on the tip of the Propeller.
Do NOT get hung up on making a perfect Circle! That is NOT your Focus here.
If you make a mistake, just Erase that part and redraw.
STEP 8

We now need to blur this so Choose Filter > Blur > Gaussian Blur and
Use a value of 20 pixels and you should get something like the picture below.
Click either Picture to see a Larger View.
STEP 9
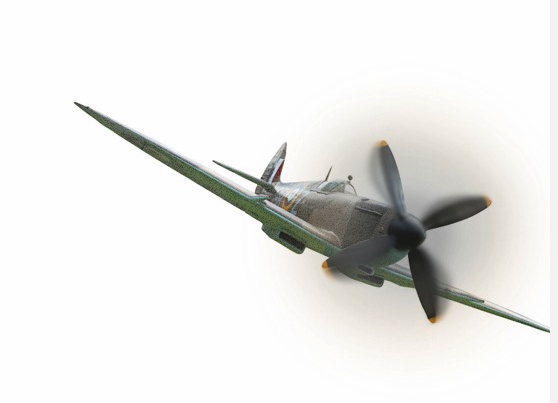
Let's take a look at where we are so far: We've added the noise first to make it look a bit dirtier.We isolated the propeller and and smudged it to look like its moving. Isolating parts of an image is a really important technique to start using as I've often needed to edit parts of an image and it's often much easier to isolate the parts whether I want to blur the part, alter some colors or change the shape and size of it. Lastly we just used a quick and simple way to add some more motion by quickly drawing a circle then heavily blurring it.
Now just turn on the Eye on the original plane and you should have something looking like this.
Now just turn on the Eye on the original plane and you should have something looking like this.
STEP 10
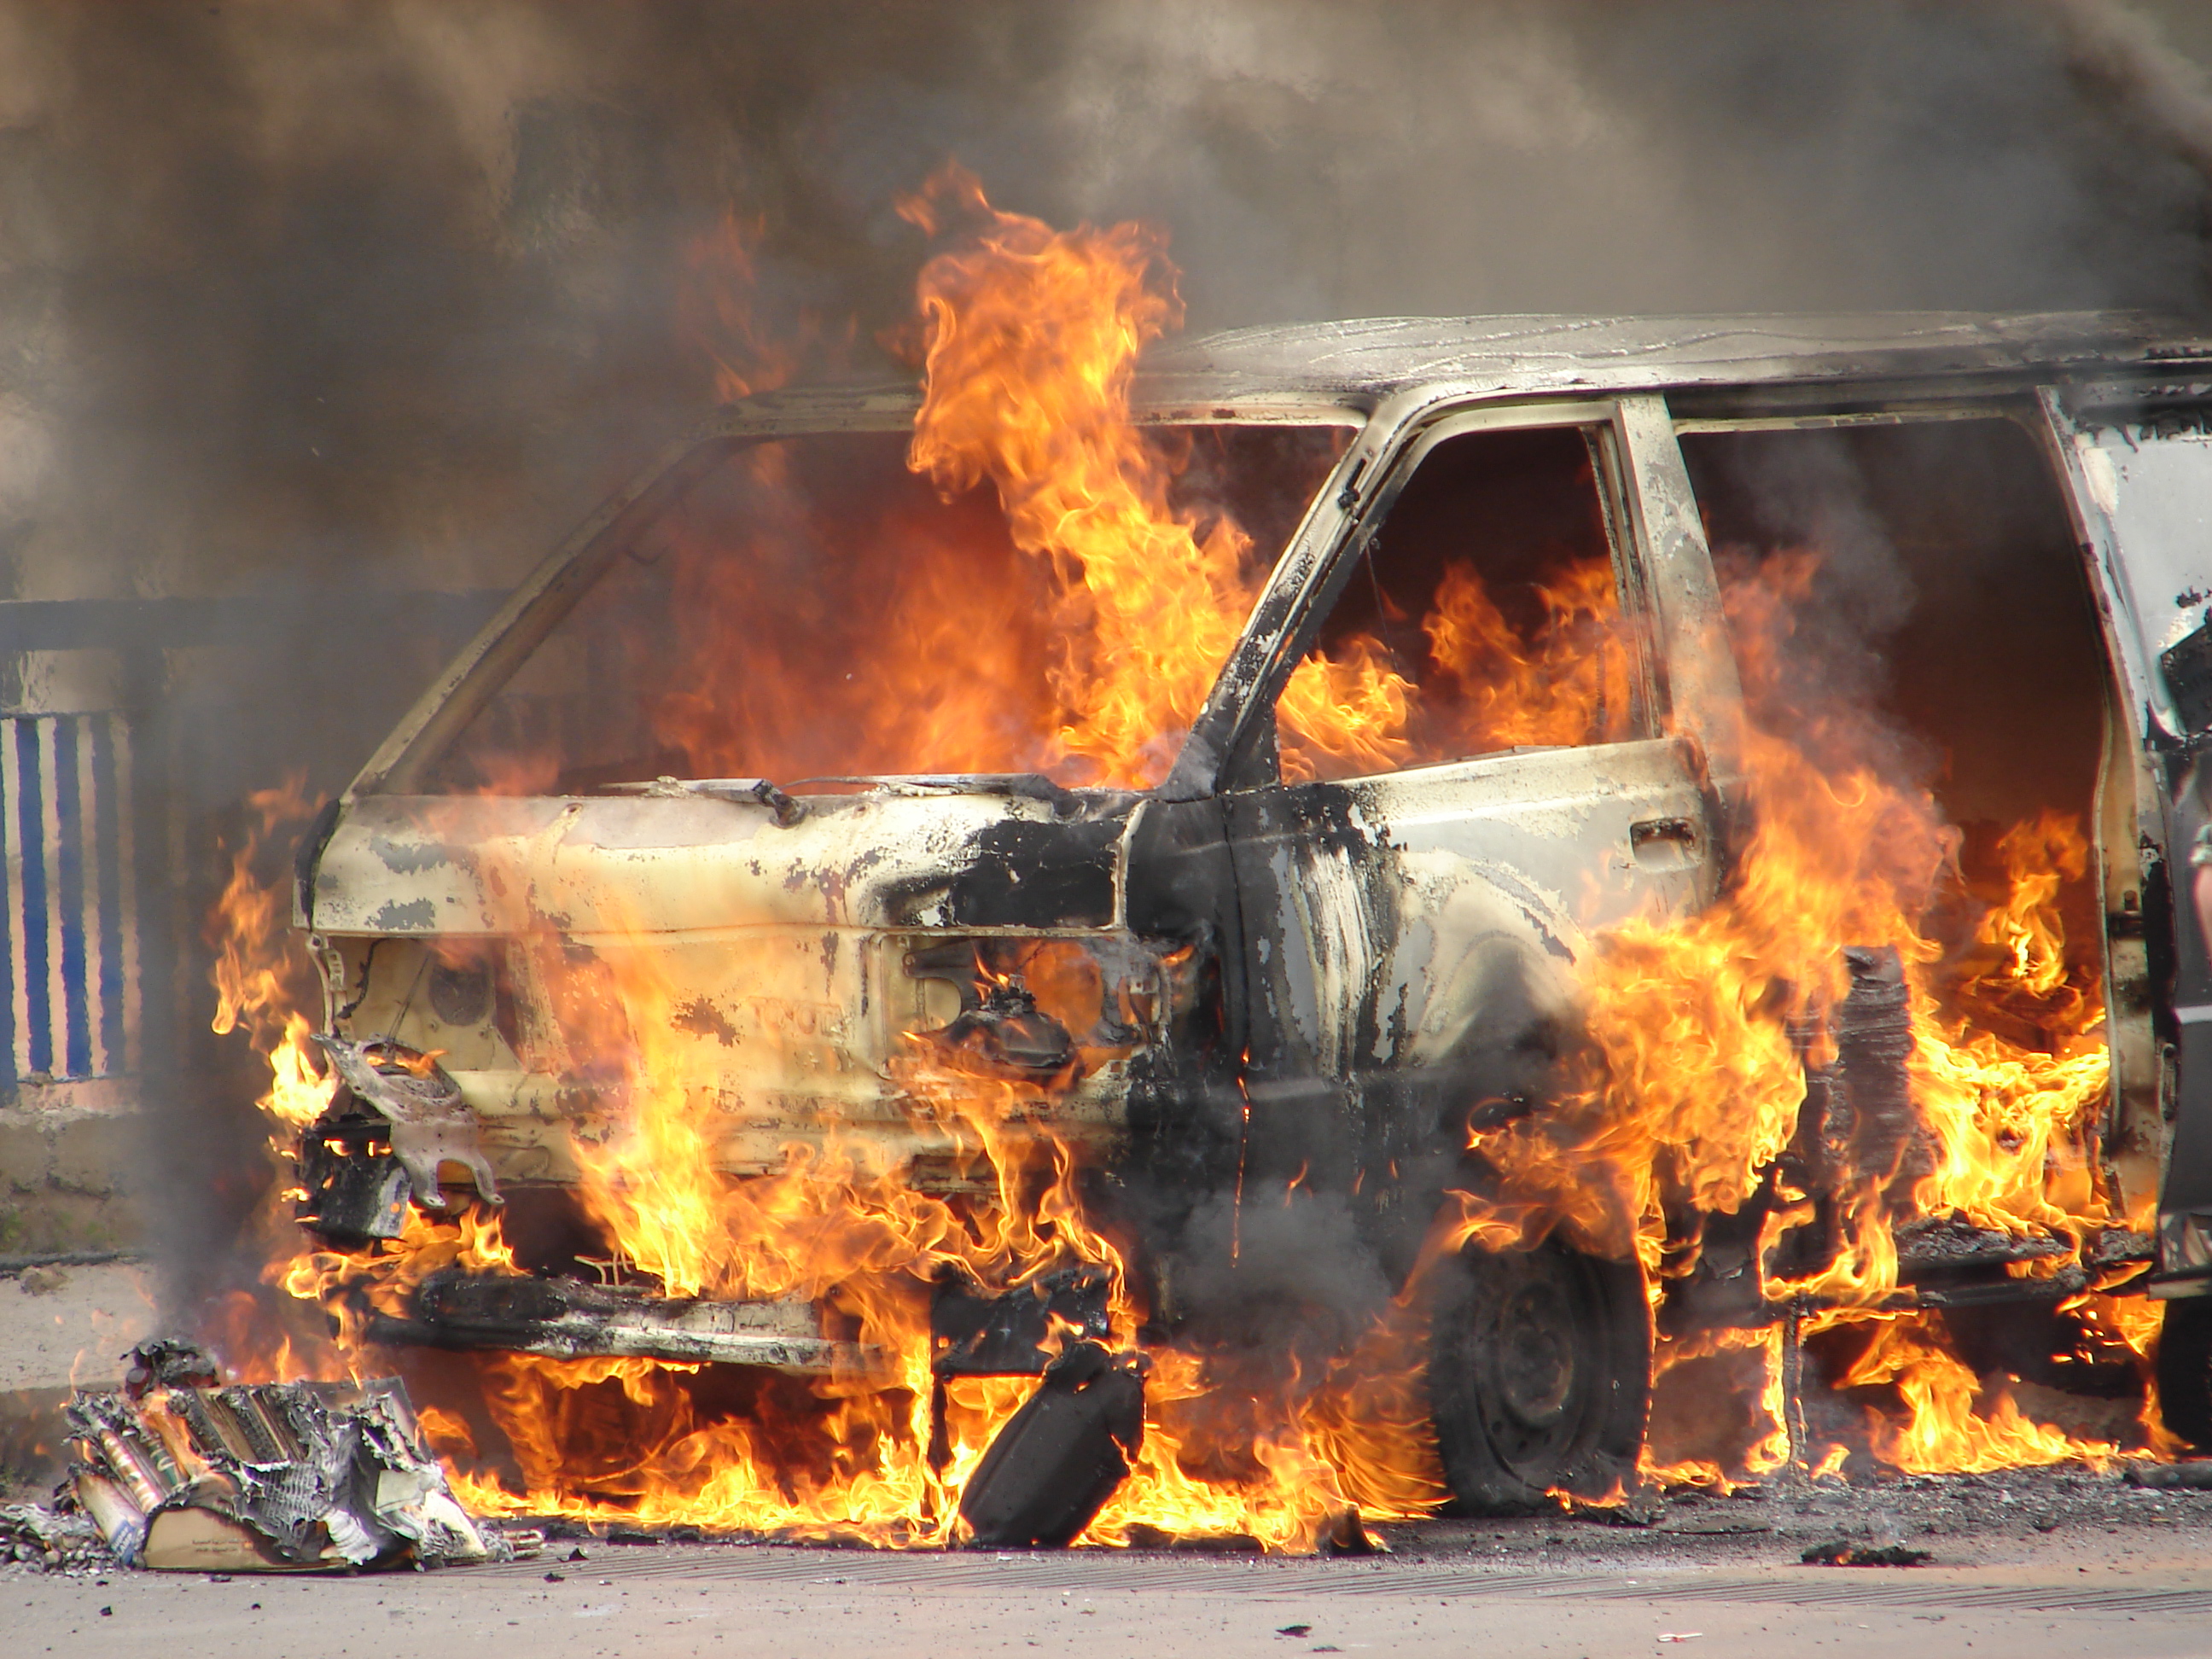
In the next few steps we will be adding some burn marks, flame and smoke so we need a really good stock image. The one I am giving you is the one they gave me in the online Tutorial. I'm showing what it looks like at left and you'll notice that it's perfect for this kind of thing. It has flames, burn marks, smoke and even bits of debris.
Click on the Picture at Left to open it and . . .
Copy & Paste this image into your document and
Size it to fit your document size.
STEP 11
Basically we're going to copy parts of this image onto the side of the plane.
The easiest way to do this is to first duplicate the layer with the van then hide the original van layer.
Now either use the eraser tool or the lasso tool to remove all except the the front corner of the van with burn marks, just do this roughly then rotate and scale this layer and place it over the plane like so.
I used the Lasso Tool to Select the image, the Eraser tool with a very soft edge - you change the size and pressure of the Eraser tool just like you would change the Brushes - to remove some of the hard edges and to isolate the flames.
If it doesn't look right to you, delete the layer, re-Place it and start over - I do it all the time.
Take your time and be patient with yourself and the process.
Stop here and e mail me your work to this point - [email protected]

